check

check

check

check
check
check
check
check

check

check
Understanding the Makerbot limit switch schematic is essential for anyone involved in 3D printer maintenance, repair, or customization. Limit switches play a critical role in the precise operation of Makerbot and other FDM 3D printers by defining the boundaries of the print head's movement along the X, Y, and Z axes. When the print head or build platform reaches the end of its travel, it physically contacts the limit switch, triggering an electrical signal that tells the printer's control board to stop movement in that direction. This process, known as homing, is fundamental for establishing a consistent starting point for every print, ensuring layer alignment and overall print accuracy.
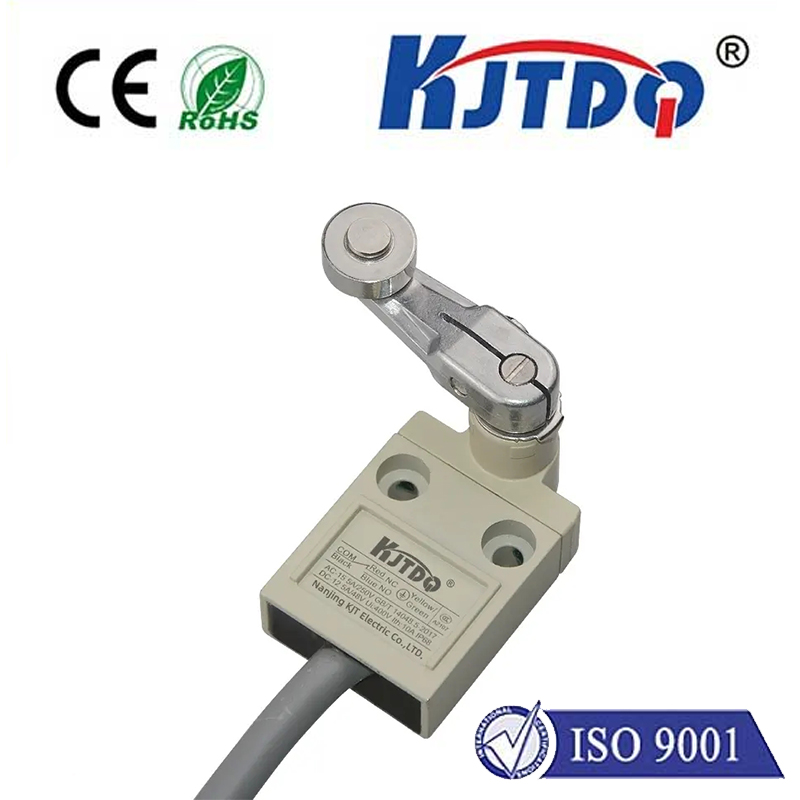
A typical Makerbot limit switch schematic details the electrical connections and mechanical configuration. The switch itself is usually a simple mechanical lever-arm or optical sensor. In a common mechanical switch, the internal mechanism consists of a spring-loaded lever that, when depressed, closes or opens an electrical circuit. The schematic will show connections to the printer's main control board, typically involving three wires: one for signal, one for power (often 5V or 3.3V), and one for ground. The signal wire's state (high or low voltage) changes when the switch is activated, providing a clear digital signal to the microcontroller. Understanding this wiring is crucial for diagnosing issues like failed homing sequences, axis drift, or error messages related to endstops.
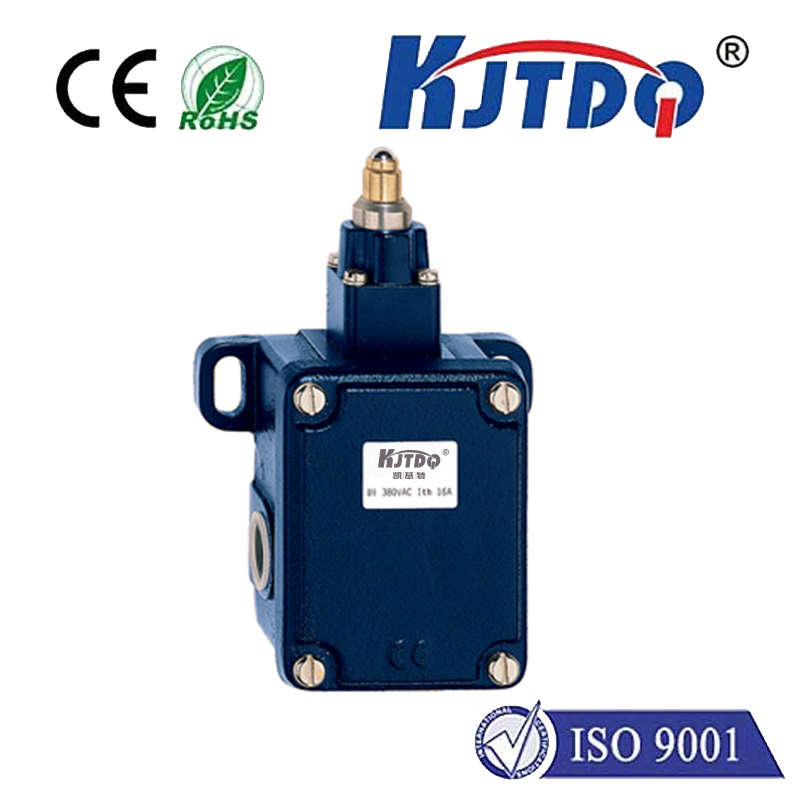
Common problems with Makerbot limit switches often stem from mechanical wear, misalignment, or electrical faults. A switch that fails to trigger may be physically obstructed, have a bent lever arm, or be positioned too far from the moving component it is meant to sense. Conversely, a switch that is constantly triggered (even when not contacted) may have a damaged internal mechanism causing a short circuit or a problem with the wiring, such as a pinched cable. Consulting the schematic allows users to systematically test the switch's continuity with a multimeter, check voltage at the control board connector, and verify the signal behavior during homing commands sent via printer software.
For those looking to replace or upgrade a limit switch, the schematic provides the necessary specifications. While original Makerbot parts ensure compatibility, many users successfully install third-party mechanical endstops or even upgrade to non-contact sensors like inductive or optical limit switches. The core principle remains the same: the new component must match the electrical logic (normally open or normally closed) and voltage requirements outlined in the original schematic. Incorrect installation can lead to motherboard damage. When swapping switches, it's vital to power off the printer, carefully document the existing wiring, and reference the official schematic or community-shared diagrams for your specific Makerbot model (e.g., Replicator 2, Replicator+, etc.).
Beyond troubleshooting, the limit switch schematic is a gateway to advanced printer modifications. Enthusiasts might use this knowledge to implement a dual endstop configuration for the Z-axis to ensure perfect bed leveling or to add additional safety limits for custom toolheads. A deep understanding of how these sensors integrate with the firmware—where parameters like homing speed and debounce delay are configured—empowers users to fine-tune their machine's performance and reliability. In summary, the Makerbot limit switch schematic is more than just a wiring diagram; it's a foundational document for maintaining precision, diagnosing faults, and unlocking the full potential of your 3D printer through informed modification and repair.