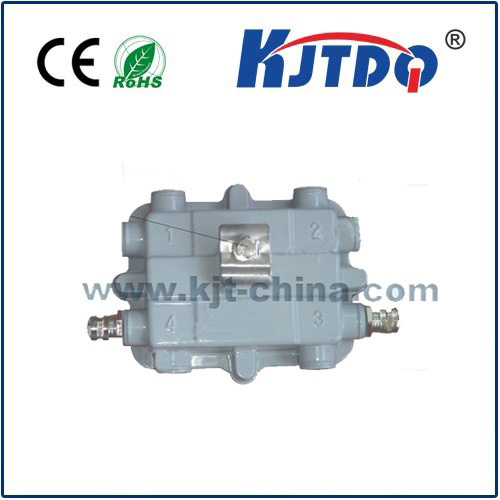
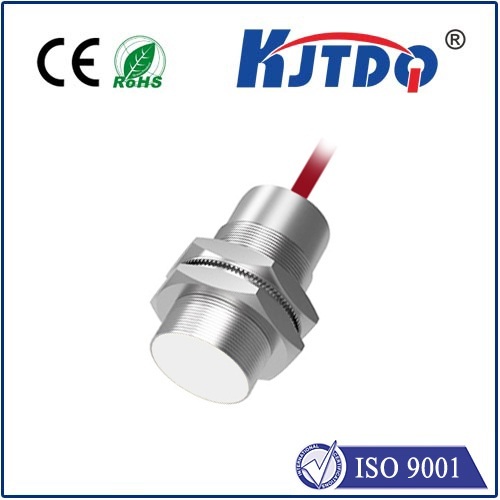
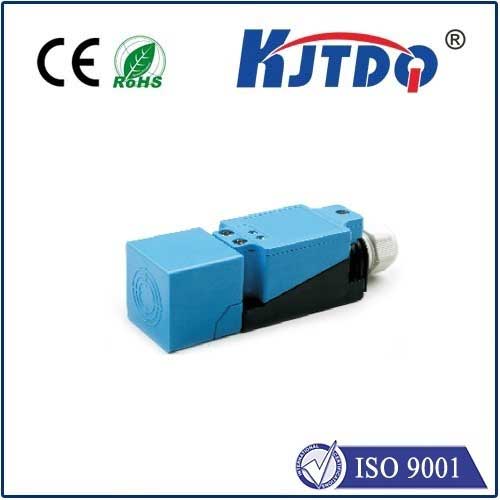
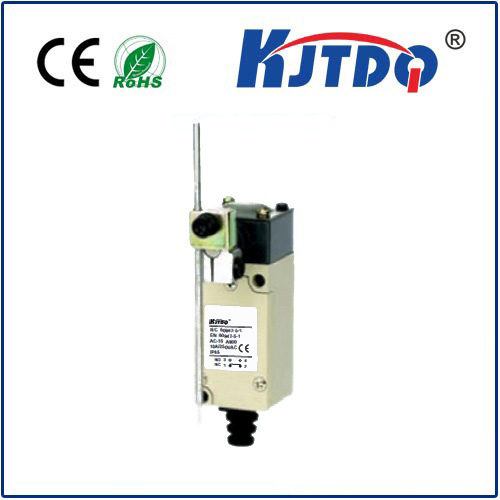
sculpfun s9 limit switch
- time:2025-08-01 09:44:13
- Click:0
Sculpfun S9 Limit Switches: Your Laser Engraver’s Essential Safety Guardians
Have you ever experienced your Sculpfun S9 laser engraver unexpectedly stopping mid-job, refusing to home correctly, or seemingly ignoring the boundaries of your material? The culprit could be quietly tucked away on its axes – a tiny yet critical component known as the limit switch. Understanding these often-overlooked devices is paramount for optimal machine performance, safety, and achieving pristine engraving results. Forget complex jargon; let’s demystify the Sculpfun S9 limit switch and empower you to keep your machine running smoothly.
At its core, a limit switch is a fundamental safety and positioning sensor. Installed at the designated ends of the Sculpfun S9’s X and Y axes (and sometimes Z), its job is deceptively simple but profoundly important: to detect when the laser head or gantry physically reaches the predefined boundaries of its travel. Think of them as highly attentive sentinels, constantly monitoring the machine’s movement.
Why are these switches so indispensable for your S9?

- Machine Protection & Collision Prevention: This is their primary safety function. Without limit switches, the moving parts of the S9 could slam into the mechanical end of the frame with significant force during rapid movements like homing. This prevents catastrophic damage to motors, belts, linear rails, the laser head, and the frame itself. Ignoring limit switch issues is a fast track to costly repairs.
- Accurate Homing (Finding Zero): Every time you power on your S9 or start a new job (depending on your workflow), the machine performs a homing sequence. The laser head moves along each axis until it contacts the corresponding limit switch. This physical contact precisely tells the machine’s controller (like LightBurn or LaserGRBL), “This is the absolute end point” for that axis. It uses this reference point to accurately position itself for your engraving or cutting job. A faulty switch leads to failed homing attempts or inaccurate positioning.
- Defining the Work Area: By establishing the physical limits through the homing process, the limit switches effectively define the maximum safe travel area (the working area) for the S9. The software relies on this information to ensure your design stays within bounds and the laser doesn’t attempt to move beyond its physical capabilities.
- Triggering Safety Stops: Beyond homing, if the machine attempts to move beyond its mechanical limits during a job due to software error or incorrect settings, the limit switch activates, sending an immediate stop signal to the controller. This halts all motion instantly, preventing potential damage.
Common Signs Your Sculpfun S9 Limit Switches Need Attention:
- Failed Homing: The machine repeatedly fails to complete the homing process, stopping unexpectedly or throwing errors like “Homing Failed” or “Limit Triggered” right at startup.
- Inconsistent Position Zero: Each time you home the machine, the actual starting position (zero point) seems to shift slightly, leading to misaligned engravings.
- Unexpected Job Stops: The machine suddenly halts mid-operation without completing the task, often accompanied by an error message indicating a limit was triggered, even when nowhere near the edge.
- Physical Damage: Visible signs like a cracked switch housing, bent actuator lever (the small arm that gets pressed), or loose wires directly at the switch.
- Grinding or Crunching Noises: You hear unusual mechanical sounds when the head reaches the end of travel during homing or regular movement, suggesting the switch isn’t activating properly before physical contact occurs.
Where are they located? Typically, you’ll find one switch at the near end (closest to the front panel/controls) of the X-axis gantry and one at the far left end of the Y-axis rail. They are small, often box-shaped, with a protruding metal or plastic lever/roller actuator. Consulting your Sculpfun S9 manual provides the exact locations.
Troubleshooting & Maintenance Tips:
- Physical Inspection: Power off and unplug your S9. Carefully inspect each limit switch. Look for obvious damage, ensure the actuator lever moves freely and springs back, and check that the wires are securely connected. Inspect the area where the lever gets pressed – debris lodged here can prevent activation.
- Cleaning: Gently blow away dust and debris from the switches and their actuator areas using compressed air. Avoid using liquids directly on the switch. Ensure the point that contacts the switch lever (like a small metal tab on the moving gantry) is clean and properly aligned.
- Verification: LightBurn and other software often have manual machine control features. Gently jog your S9’s axis until the head/frame physically contacts the limit switch lever. You should hear a distinct “click” (for mechanical switches) and see the corresponding limit status indicator in the software change state (e.g., from “Open” to “Triggered”). Repeat for both axes.
- Secure Mounting: Ensure the switches are tightly fastened. Vibration during operation can loosen them over time, causing misalignment.
- Actuator Alignment: Crucially, the moving part of the machine must make solid contact with the switch’s actuator lever at the end of travel. If the lever is bent, or the contact point has shifted, the switch won’t be pressed reliably. Precise alignment is key – even a millimeter off can cause failure.
- Wiring Checks: Follow the wires from the switch back to the control board. Look for any pinched, frayed, or disconnected wires. Gently reseat connectors. Poor connections are a common culprit for intermittent issues.
- Calibration (if applicable): Less common on stock S9s, but some aftermarket switches or controllers might require calibration within the firmware settings to ensure the trigger signal is correctly interpreted. Refer to controller documentation if needed.
- Replacement: If a switch is physically damaged, the actuator is broken, cleaning doesn’t help, and wiring is intact, replacement is the solution. Ensure you purchase switches compatible with your S9 controller’s input voltage (commonly 5V or 24V DC). Mechanical microswitches are standard, but optical versions exist. The pin configuration must match.
Beyond Troubleshooting: Optimizing Performance
Understanding how your S9’s homing routine relies on limit switches underscores the importance of keeping them pristine. Consistently reliable homing translates directly to engraving precision. Incorporate a quick visual check of the switches and their contact points into your regular pre-job maintenance routine. A few seconds spent ensuring everything is clean, secure, and aligned prevents frustrating errors and protects your valuable machine.
Don’t underestimate these vital components. Sculpfun S9 limit switches are fundamental to the machine’s safety, longevity, and accuracy. By recognizing their role, identifying signs of trouble, and performing simple maintenance, you proactively safeguard your investment and ensure your laser engraver delivers flawless performance, project after project.