check

check

check
check
check
check
check
check
check
check
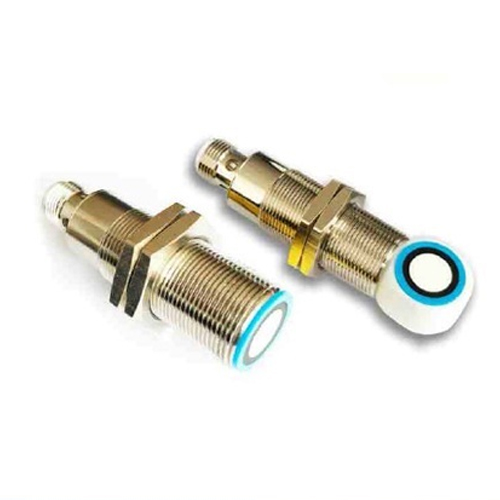
In the world of Arduino-based automation and robotics, precision and reliability are paramount. One component stands out as a fundamental building block for achieving this: the limit switch. A limit switch for Arduino is a simple yet powerful electromechanical device used to detect the presence or absence of an object, or to define the boundaries of mechanical movement. It acts as a sentinel, telling your Arduino board when a moving part has reached a specific point, thus preventing damage, enabling precise positioning, and triggering subsequent actions in your project's code.
At its core, a typical limit switch consists of an actuator (like a lever, roller, or plunger) linked to a set of electrical contacts. When an object makes physical contact with the actuator, it triggers the internal mechanism to either open or close the circuit. This change in the electrical state is what your Arduino's digital input pin can read. Connecting a limit switch to an Arduino is straightforward. The common terminal is connected to the Arduino's ground (GND). The Normally Open (NO) or Normally Closed (NC) terminal (depending on your desired logic) is connected to a digital input pin, which should also be pulled high or low using the Arduino's internal pull-up resistor or an external resistor to ensure a stable reading when the switch is not activated.
The real magic happens in the code. By using thedigitalRead() function on the designated pin, your Arduino sketch can monitor the switch's state. For instance, in a simple program, you might have a motor running until the limit switch is pressed, changing the pin's state from HIGH to LOW, at which point the code commands the motor to stop or reverse direction. This basic principle forms the foundation for countless applications. From 3D printers and CNC machines that use limit switches as homing sensors to find their zero position, to interactive art installations where a pressed switch triggers lights and sounds, the possibilities are vast.
Why is integrating a limit switch with Arduino so crucial? Firstly, it introduces essential safety. In a motorized linear slide, for example, limit switches at both ends prevent the motor from driving the mechanism beyond its physical limits, protecting gears, motors, and the structure from strain and breakage. Secondly, it enables automation and repeatability. A robotic arm can be programmed to return to an exact "home" position reliably before starting a new task, ensuring consistent operation every time. Thirdly, it adds a layer of physical interactivity to projects, allowing the real world to provide direct input to the digital system.
When selecting a limit switch for your Arduino project, consider the mechanical environment. For high-precision applications, a miniature lever switch might be ideal. For rugged industrial settings or dusty conditions, a sealed heavy-duty plunger-type switch would be more appropriate. The electrical rating of the switch is also important, though for most low-voltage Arduino signals, standard micro-switches are perfectly suitable. It's also worth exploring different actuator types—roller levers for detecting objects moving along a track, or whisker-type actuators for delicate detection.
Beyond basic on/off detection, creative uses abound. You can use multiple limit switches to create a state machine, where different combinations of pressed switches tell the Arduino exactly where a mechanism is located. They can be used as inexpensive door or window sensors in security projects, or as input devices for custom controllers and arcade buttons. The simplicity and robustness of the limit switch make it an enduring and invaluable tool in the maker's toolkit.
In conclusion, mastering the use of a limit switch with Arduino unlocks a higher level of project sophistication. It bridges the gap between the digital commands of your code and the physical motion of your creation. By providing a definitive, physical feedback point, it transforms an open-loop system into a closed-loop one, granting your automated projects the gifts of safety, precision, and reliable interaction with their environment. Whether you are a beginner building your first mobile robot or an experienced engineer prototyping an automated system, the humble limit switch remains an indispensable component for successful and dependable control.