check

check

check

check
check
check
check
check

check

check
For any Elegoo Mars 3 user, the smooth and precise operation of the 3D printer is paramount to achieving consistent, high-quality prints. While much attention is given to the LCD screen, resin vat, and build plate, one small but critical component often operates behind the scenes: the limit switch. Understanding the Elegoo Mars 3 limit switch—its function, common issues, and maintenance—is key to ensuring your printer's longevity and reliability.
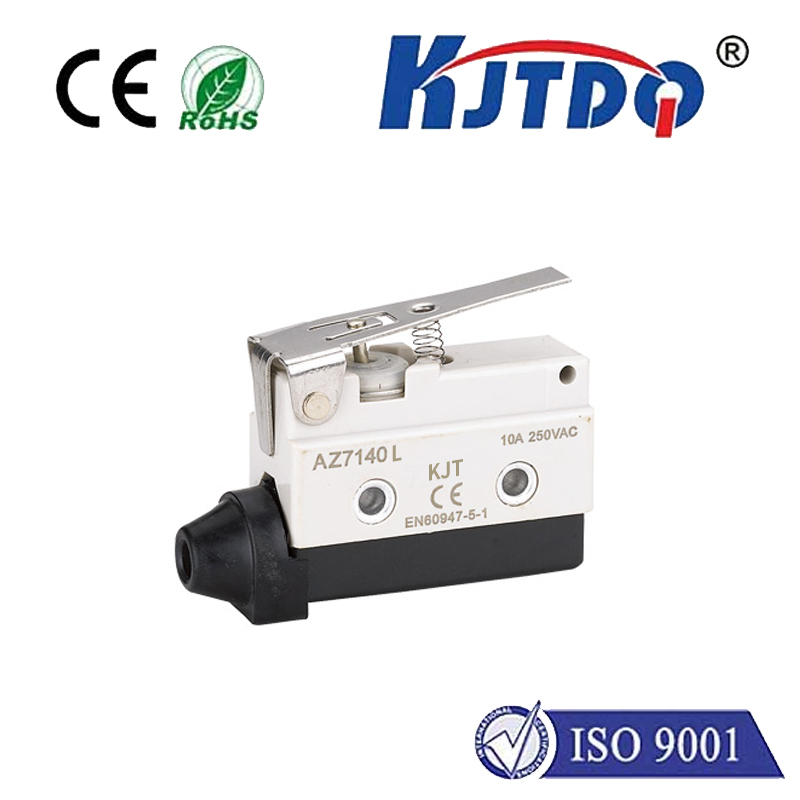
The limit switch on the Elegoo Mars 3 is a fundamental part of the printer's homing and calibration system. Primarily, it is located on the Z-axis assembly. Its core function is to act as a physical sensor. When the build plate descends during the automatic homing sequence, it gently presses against the switch's actuator arm. This contact sends a signal to the printer's mainboard, telling it that the build plate has reached its predefined "zero" or home position on the Z-axis. This establishes a crucial reference point from which all subsequent layer heights are calculated. Without an accurately functioning limit switch, the printer cannot correctly determine the starting height of a print, leading to a host of potential failures, from incomplete layer adhesion to catastrophic build plate crashes.
Recognizing the symptoms of a failing or problematic Elegoo Mars 3 limit switch is the first step in troubleshooting. The most common signs are directly related to the printer's inability to find its home position. You may encounter error messages on the screen indicating a homing failure. The build plate might make a grinding noise as it continues to drive downward even after it should have stopped. In other cases, the printer might fail to initiate a print at all, stalling during the initial setup phase. Sometimes, the issue manifests as inconsistent first layers, where the plate doesn't stop at the same height each time, causing some prints to stick and others to fail. Before concluding the switch is faulty, perform some basic checks. Ensure the switch itself is securely mounted and free from significant physical obstruction. Inspect the small actuator arm to see if it moves freely and springs back into position. Accumulated resin drips or dust can sometimes impede its movement.
If troubleshooting points to a faulty switch, replacement is a straightforward process for most users. First, always disconnect the printer from its power source. Access to the switch typically involves removing a few screws on the side or rear panel of the Z-axis assembly. Carefully note the orientation of the existing switch and take a picture of the wiring connections. The switch is usually connected via a small, keyed connector. Gently disconnect it, remove the mounting screws, and install the new, genuine Elegoo replacement switch in the exact same orientation. Reconnect the wiring, reassemble the casing, and power the printer on. Upon first boot, you will need to perform a full Z-axis calibration to set the new zero point with the fresh switch.
Preventive maintenance can significantly extend the life of your Mars 3's limit switch. Keep the general area around the Z-axis clean and free from liquid resin spills. During routine printer cleaning, you can gently use a dry, soft brush or compressed air to remove any dust or debris near the switch mechanism. Avoid using harsh chemicals or sprays directly on or near the switch. Furthermore, always handle the build plate with care during removal and installation to avoid accidentally bending or striking the switch's actuator arm.
While the Elegoo Mars 3 limit switch is a robust component, being aware of its role empowers you to maintain your printer proactively. It is the unsung hero that guarantees every print starts from a perfect, known position. By understanding its function, recognizing warning signs, and knowing how to perform basic care or replacement, you can minimize downtime and ensure your Elegoo Mars 3 continues to produce flawless 3D prints project after project. Keeping this small sensor in optimal condition is a big step toward hassle-free 3D printing.