check

check

check

check
check
check
check
check

check

check
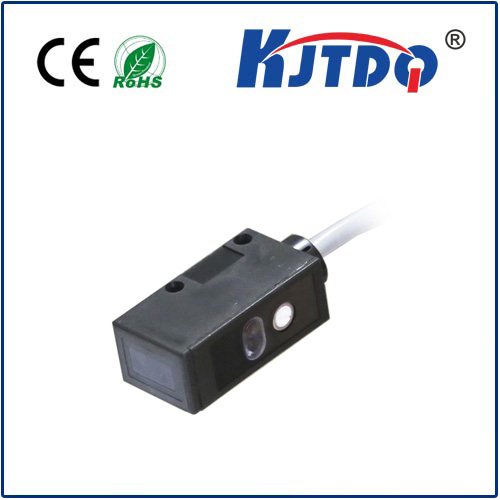
In the realm of precision measurement and automation, laser rangefinder sensors have become indispensable tools. Their ability to deliver accurate, non-contact distance readings makes them vital for applications ranging from robotics and drones to industrial automation and security systems. However, the true potential of these sophisticated devices is unlocked only through effective programming. This guide delves into the practical aspects of laser rangefinder sensor programming, providing developers with the foundational knowledge to integrate these sensors into their projects seamlessly.
The first step in programming a laser rangefinder sensor is understanding its communication interface. Most modern sensors communicate via standard protocols such as UART (Serial), I2C, or SPI. For instance, a sensor using a UART interface will typically require you to configure the correct baud rate, data bits, stop bits, and parity settings on your microcontroller or single-board computer (like Arduino or Raspberry Pi). Establishing this basic serial communication is the gateway to sending commands and receiving data. Always refer to the sensor's datasheet for the exact protocol and pin configuration; this document is your most crucial resource.
Once communication is established, the core programming task involves sending specific command packets to the sensor and parsing the response packets it returns. A common command structure might involve sending a header byte, a command byte, and sometimes parameters or a checksum. The sensor responds with a data packet containing the measured distance, often in millimeters or centimeters, along with status information. For example, a simple code snippet on an Arduino to request a single measurement from a UART-based sensor might look like this:
``cpp
// Example Arduino snippet (conceptual, always use official library or datasheet commands)
Serial.write(0xAA); // Example header byte
Serial.write(0x01); // Example command for single measurement
delay(100); // Wait for sensor processing
if (Serial.available() >= 5) { // Assuming a 5-byte response
byte header = Serial.read();
byte cmd = Serial.read();
byte dataHigh = Serial.read();
byte dataLow = Serial.read();
byte checksum = Serial.read();
long distance = (dataHigh<< 8) | dataLow; // Combine bytes
// Validate checksum here
Serial.print("Distance: ");
Serial.print(distance);
Serial.println(" mm");
}
``
For more complex or frequent measurements, programming a continuous measurement mode is more efficient. In this mode, the sensor automatically takes measurements at a predefined rate and streams the data. Your code needs to continuously listen on the serial port and parse the incoming data stream without sending a command for each reading. This reduces command overhead and is essential for real-time applications like obstacle avoidance in mobile robots.
Error handling and data validation are critical components of robust sensor programming. Always implement checksum verification if the protocol supports it to ensure data integrity. Additionally, monitor the sensor's status flags (often included in the data packet) which can indicate conditions like a weak signal, out-of-range measurements, or internal errors. Your program should gracefully handle these scenarios, perhaps by retrying the measurement, applying a filter, or alerting the system operator.
For high-level development, especially on platforms like Raspberry Pi using Python, leveraging existing libraries can significantly accelerate integration. Many popular sensor manufacturers provide Python or C++ libraries that abstract the low-level communication details. Using these libraries allows you to focus on application logic. However, understanding the underlying protocol remains valuable for debugging and optimizing performance.
Finally, consider the environmental factors in your code. Laser rangefinder performance can be affected by ambient light, target reflectivity, and atmospheric conditions. While you cannot control these factors directly, your programming logic can include filters, such as moving averages or median filters, to smooth out noisy data. For critical measurements, implementing a confidence-check routine that discards outliers or takes multiple samples can enhance reliability.
In conclusion, programming a laser rangefinder sensor is a structured process of establishing communication, sending commands, parsing data, and implementing robust error handling. By mastering these steps and consulting the sensor's specific datasheet, developers can effectively harness the precision of laser ranging technology to build smarter, more responsive automated systems. The key lies in meticulous attention to the communication protocol and thoughtful integration of the sensor data into the broader application logic.