check

check

check

check
check
check
check
check

check

check
In the world of robotics, CNC machines, and automated systems, achieving precise and repeatable movement is paramount. A common challenge is preventing a motor from moving beyond its intended physical boundaries, which could damage the mechanism or cause operational failures. This is where the simple yet powerful combination of a limit switch, a stepper motor, and an Arduino microcontroller comes into play. This guide will walk you through the practical steps of integrating these components to create a robust system with defined limits.
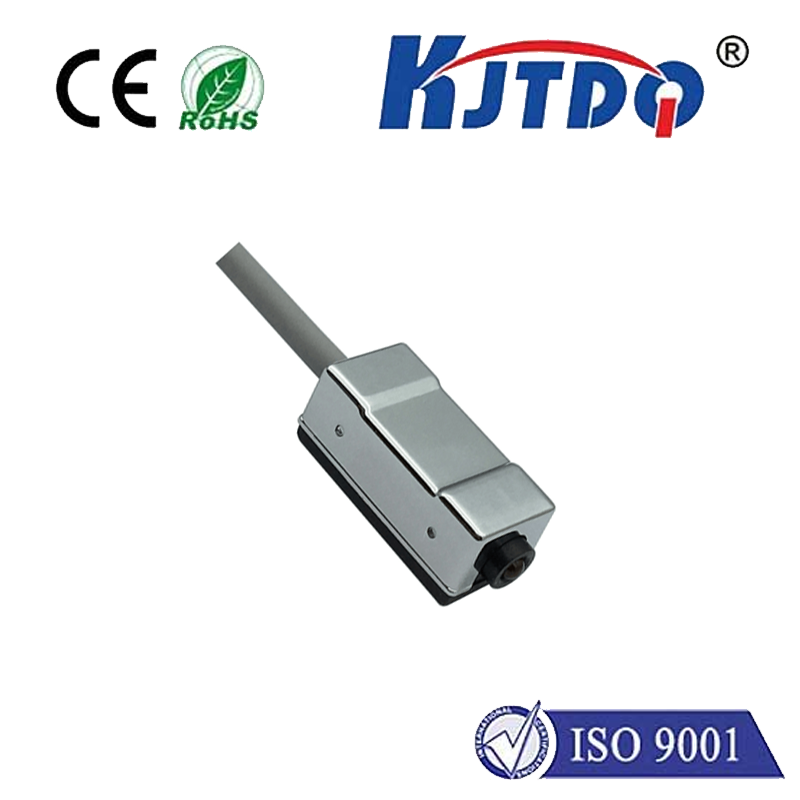
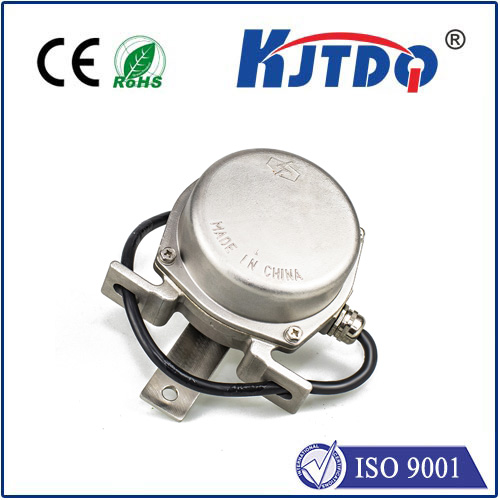
First, let's understand the core components. A stepper motor moves in discrete steps, allowing for exact positional control, making it ideal for applications requiring precision. An Arduino board acts as the brain, sending digital pulses to a motor driver (like the common A4988 or DRV8825) which in turn controls the motor's coils. The limit switch is our safety sensor. It's a mechanical switch, often with a lever or plunger, that is physically positioned at the desired endpoint of motion. When the moving part of your machine contacts the switch, it triggers a change in its electrical state, sending a signal back to the Arduino.
The fundamental wiring involves three main connections. The stepper motor is connected to the motor driver module, which is then connected to the Arduino for step and direction control. The limit switch has three terminals: common (COM), normally open (NO), and normally closed (NC). For a typical active-low configuration (where the signal goes LOW when pressed), you would connect the COM terminal to the Arduino's ground (GND) and the NO terminal to a digital input pin on the Arduino (e.g., pin 2). This pin should also be connected to 5V through a pull-up resistor (around 10k ohms) to ensure a stable HIGH signal when the switch is not pressed. When the switch is activated, it connects the pin directly to GND, pulling the signal LOW.
The real magic happens in the code. A basic sketch involves initializing the stepper library, setting the pin mode for the limit switch as an INPUT_PULLUP (using the Arduino's internal pull-up resistor to simplify wiring), and then creating a homing routine. The homing sequence is critical. Upon startup, the motor is instructed to move slowly in one direction (e.g., towards the limit switch). The program continuously reads the state of the digital pin connected to the switch inside a loop. As soon as the pin reads LOW (switch pressed), the motor immediately stops. For added accuracy, the motor might then back off slightly to release the switch. This position is now defined as "home" or zero. All subsequent movements are calculated relative to this known reference point, ensuring the motor never attempts to travel past the physical limit.
Beyond simple homing, you can implement two limit switches—one for each end of travel—creating a fully bounded system. The logic remains the same: monitor both switches and halt motion in the respective direction if either is triggered. This is essential for bi-directional systems like a plotter or a 3D printer axis. Furthermore, you can use the limit switches not just as emergency stops but as integral parts of the operational logic. For instance, a machine could start every job by automatically homing itself to ensure consistency.
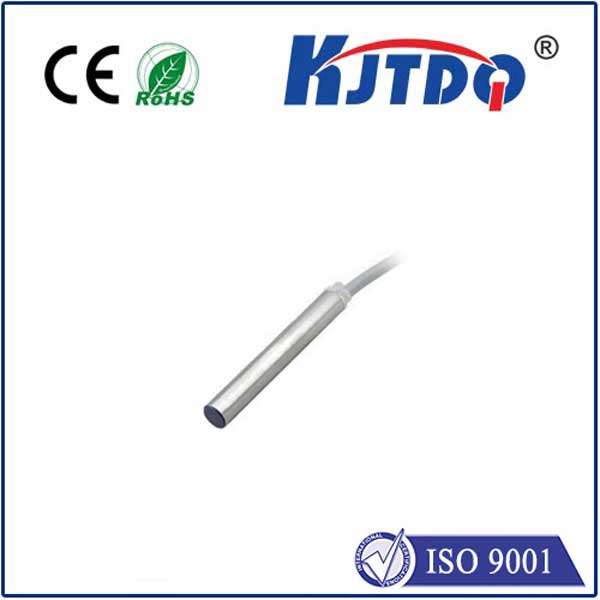
When implementing this system, consider switch placement and debouncing. Mechanical switches can "bounce" electrically when first contacted, sending multiple rapid on/off signals. This can be handled in software by adding a short delay after the first detection to ignore subsequent fluctuations. Also, ensure the switch is mounted securely and the actuator (the part that touches the switch) is reliable. For harsh environments, you might opt for optical or magnetic proximity sensors instead of mechanical switches, but the Arduino interfacing principle remains similar.
In conclusion, integrating a limit switch with a stepper motor controlled by an Arduino is a foundational skill for building reliable automated projects. It transforms an open-loop system into a closed-loop one for boundary detection, adding a critical layer of safety and repeatability. Whether you're building a small desktop robot arm or a prototype for an industrial application, this setup guarantees that your precise movements stay within their designated physical limits, protecting your hardware and ensuring consistent operation every single time.