check

check

check

check
check
check
check
check

check

check
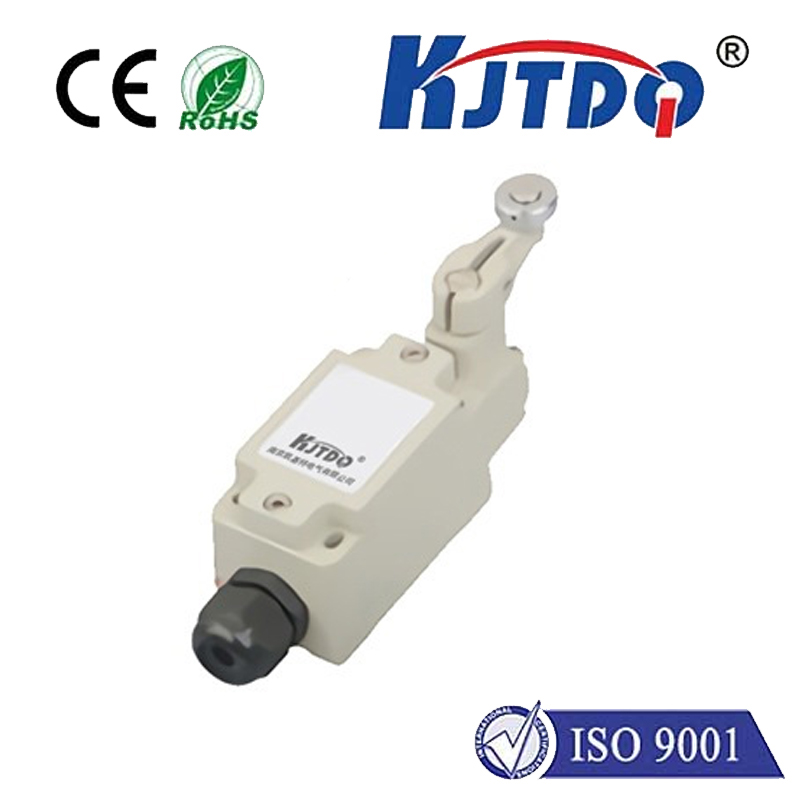
A limit switch is a critical component in industrial automation, designed to detect the presence or absence of an object and control machinery accordingly. Making a limit switch involves understanding its function, selecting the right materials, and following precise assembly steps. This guide provides a straightforward approach to creating a reliable limit switch for various applications, ensuring safety and efficiency in automated systems.
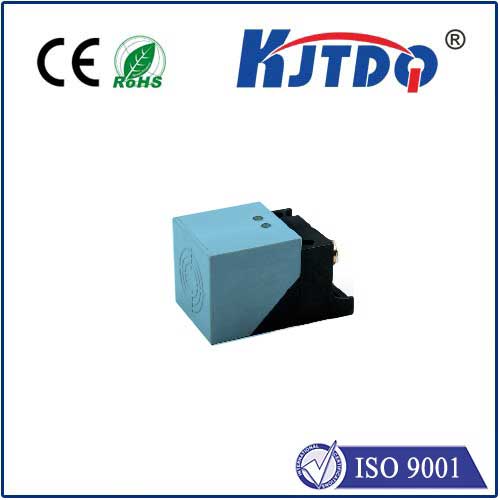
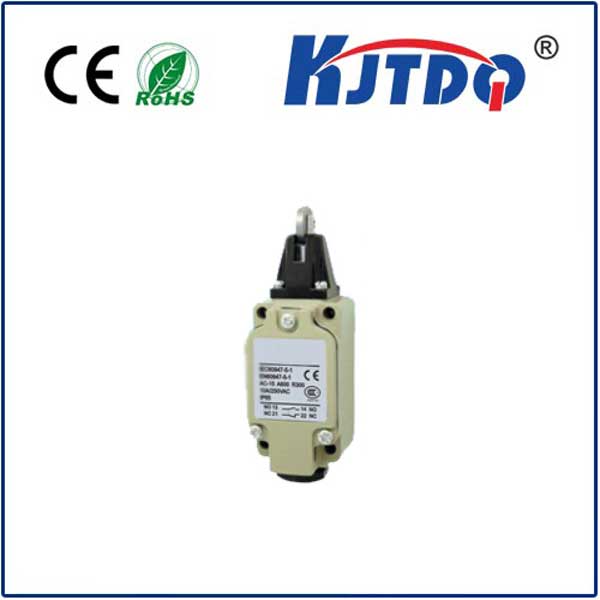
First, it's essential to grasp the basic principle behind a limit switch. It operates as a sensor that triggers an electrical circuit when an object makes physical contact with its actuator. This action can start, stop, or change the direction of a machine, such as in conveyor belts, robotic arms, or elevators. The switch typically consists of a housing, actuator lever, contacts, and terminals. When the actuator is pressed, it moves internal contacts to open or close the circuit, sending a signal to the control system.
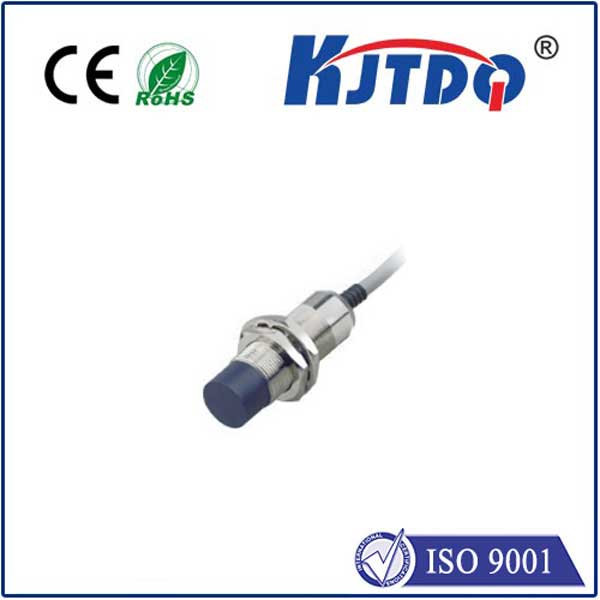
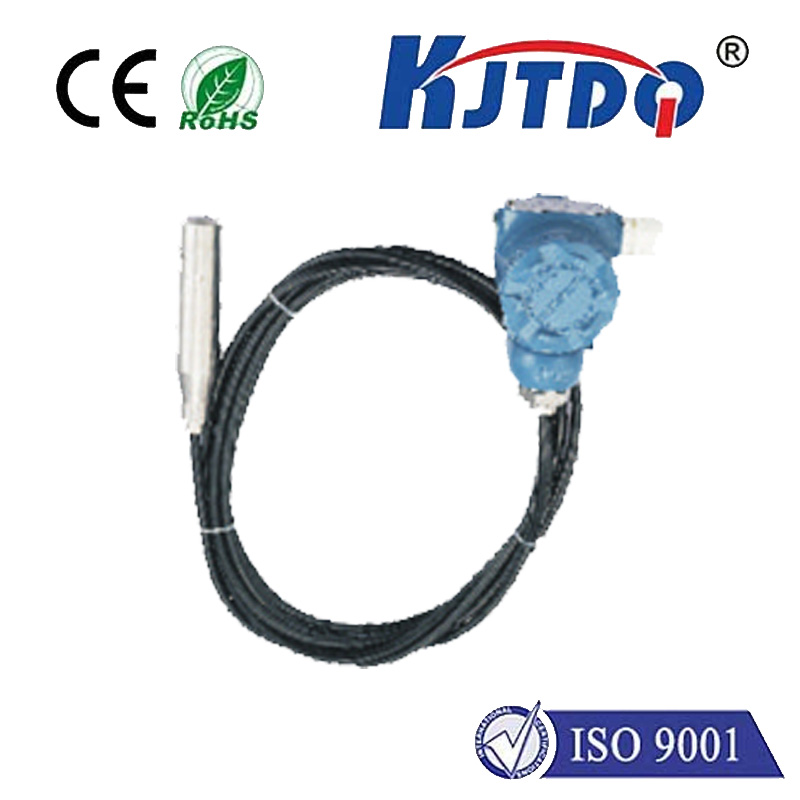
To make a limit switch, start by gathering the necessary materials. You'll need a durable housing, often made from metal or plastic to protect internal components from dust, moisture, and mechanical stress. The actuator, which can be a lever, roller, or plunger, should be chosen based on the application—for instance, a roller actuator is ideal for detecting moving objects. Electrical contacts, usually made of silver or gold-plated materials, ensure reliable conductivity. Additionally, prepare terminals for wiring, springs for return action, and screws for assembly.
The assembly process begins with mounting the contacts inside the housing. Position them so that they align with the actuator mechanism. Attach the actuator to the housing using a pivot point, ensuring it moves smoothly. Connect the terminals to the contacts, allowing for easy wiring to external circuits. Incorporate a spring mechanism to return the actuator to its original position after contact, which is crucial for repetitive operations. Test the switch manually by pressing the actuator and checking if the contacts open or close as intended.
Once assembled, the limit switch must be calibrated for accuracy. Adjust the actuator's travel distance to match the object's detection point. For example, in a packaging machine, the switch should trigger when a product reaches a specific position. Use a multimeter to verify electrical continuity and ensure there are no short circuits. Install the switch in the desired location, securing it with brackets or mounts to prevent vibration or misalignment. Connect it to the control system, following wiring diagrams to avoid errors.
In real-world applications, making a limit switch requires attention to environmental factors. For harsh conditions, such as high temperatures or corrosive atmospheres, select materials like stainless steel or sealed housings. Regular maintenance, including cleaning contacts and inspecting for wear, prolongs the switch's lifespan. By customizing the design, you can adapt the switch for unique needs, such as adding multiple actuators for complex machinery.
Overall, creating a limit switch is a practical skill that enhances automation projects. It combines mechanical and electrical knowledge to produce a device that ensures operational safety and precision. Whether for DIY enthusiasts or industrial settings, this process empowers users to build tailored solutions, reducing downtime and improving productivity. Remember to adhere to safety standards and test thoroughly before deployment.