check

check

check

check
check
check
check
check

check

check
In the intricate world of 3D printing, where digital designs materialize layer by layer into physical objects, precision is paramount. Every component plays a crucial role in this dance of creation, and among the most critical yet often overlooked parts is the humble limit switch. This small electromechanical device acts as the printer's sensory system, defining the boundaries of its movement and ensuring each print starts from a known, accurate position. Without a properly functioning limit switch, even the most advanced 3D printer can produce failed prints, suffer from layer shifting, or potentially damage its own mechanical structure.
A limit switch in a 3D printer is fundamentally a positioning sensor. It is strategically placed at the end of each axis of movement—typically the X, Y, and Z axes. When the printer's carriage, bed, or gantry moves to the end of its travel, it physically triggers the switch. This action sends a clear electrical signal to the printer's main controller board, stating, "I have reached home." This process, known as "homing," is the first step before any print begins. It establishes a zero reference point, allowing the printer to calculate all subsequent movements with absolute certainty. Imagine trying to draw a complex picture without knowing where the edges of your paper are; the limit switch defines those edges for the printer's nozzle.
The importance of a reliable limit switch extends far beyond simple homing. It is the primary guardian against mechanical overruns. If a switch fails or is misaligned, the moving parts could continue driving into the printer's frame, straining belts, grinding gears, or bending lead screws. This not only ruins the current print job but can cause lasting hardware damage. Furthermore, consistent homing ensures dimensional accuracy. A slight variation in the home position on the Z-axis, for instance, can mean the difference between the nozzle perfectly touching the build plate for good first-layer adhesion and it being a fraction of a millimeter too high, causing the print to detach, or too low, scratching the surface.
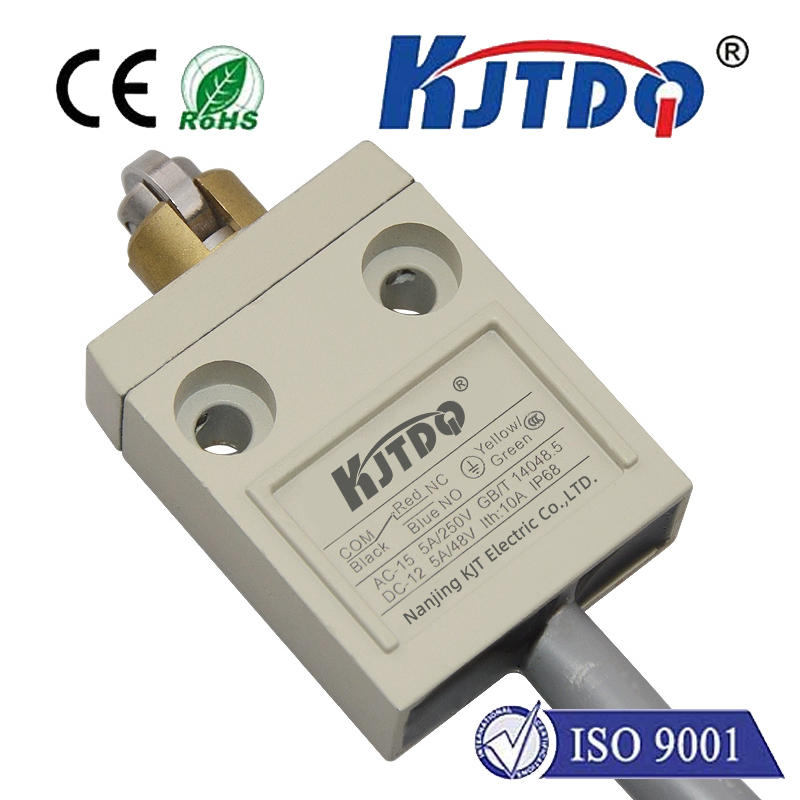
Several types of limit switches are commonly used in 3D printers, each with its own characteristics. Mechanical switches are the most traditional, using a physical lever or button that is pressed. They are cost-effective and simple but can wear out over time due to physical contact. Optical switches use an infrared light beam and a sensor; triggering occurs when the moving part interrupts the beam. These are contactless, offering longer lifespan but can be susceptible to ambient light or dust. Magnetic switches, or Hall effect sensors, are activated by the proximity of a magnet. They are also contactless and very reliable, often found in more premium printer models. The choice of switch impacts the printer's reliability, noise level during homing, and long-term maintenance needs.
Recognizing signs of a failing limit switch is key to preventative maintenance. Common symptoms include the printer failing to home correctly, repeatedly grinding at the end of an axis, or error messages related to homing failures. Prints may consistently shift layers or start in the wrong location on the build plate. Troubleshooting often involves simple steps: checking for physical obstructions, ensuring the switch is securely mounted and properly aligned, and testing its electrical continuity with a multimeter. Sometimes, debris or a small piece of filament can prevent the switch's lever from moving freely. Regular inspection and cleaning of these switches can prevent many common issues.
For enthusiasts looking to upgrade or repair, installing a new limit switch is a straightforward task. It typically involves disconnecting two or three wires from the old switch and the mainboard, unscrewing the mount, and reversing the process with the new unit. Critical attention must be paid to alignment; the switch must be positioned so that it is triggered precisely when the moving part reaches the desired end position. After installation, firmware settings may need verification to ensure the printer correctly interprets the new switch's signal, especially if switching between normally open (NO) and normally closed (NC) types.
In essence, the 3D printer limit switch is a foundational component of print reliability and accuracy. It operates silently in the background, providing the essential spatial awareness that transforms chaotic mechanical movement into ordered, precise creation. Investing in quality switches, understanding their function, and performing routine checks are simple yet highly effective ways to enhance overall print success rates and protect your valuable 3D printing investment. By mastering this small component, users ensure their machines remain calibrated, safe, and capable of turning intricate digital blueprints into flawless physical reality, time after time.