check

check

check

check
check
check
check
check

check

check
For any Elegoo Mars 3D printer user, understanding the role and maintenance of the limit switch is crucial for achieving consistent, high-quality prints. This small but vital component acts as the printer's homing sensor, ensuring the build plate or the Z-axis stops at the exact zero point at the start of every print job. Its precise function directly impacts layer alignment, print adhesion, and overall print success.
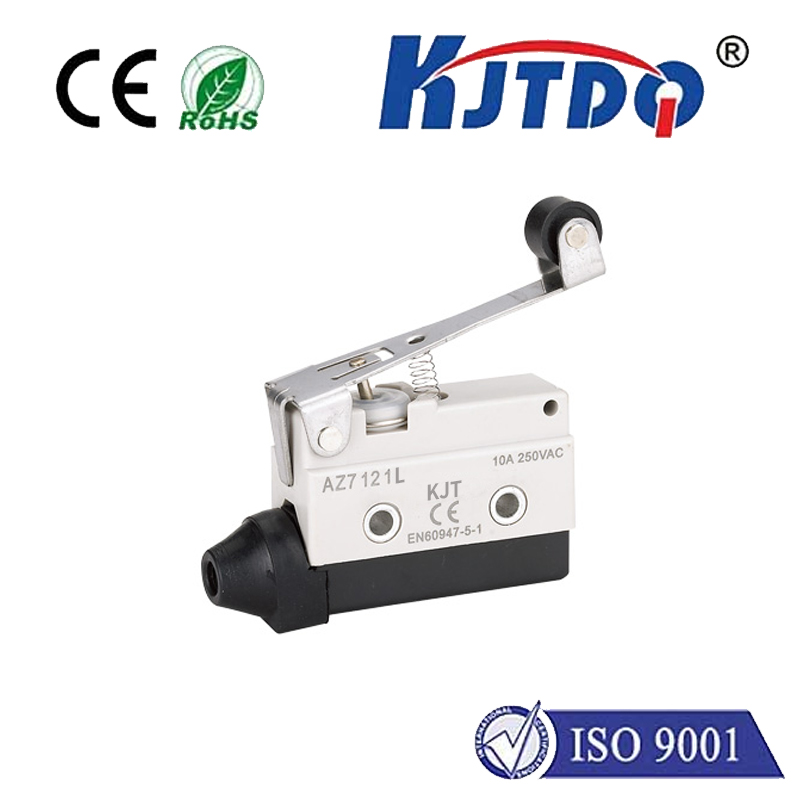
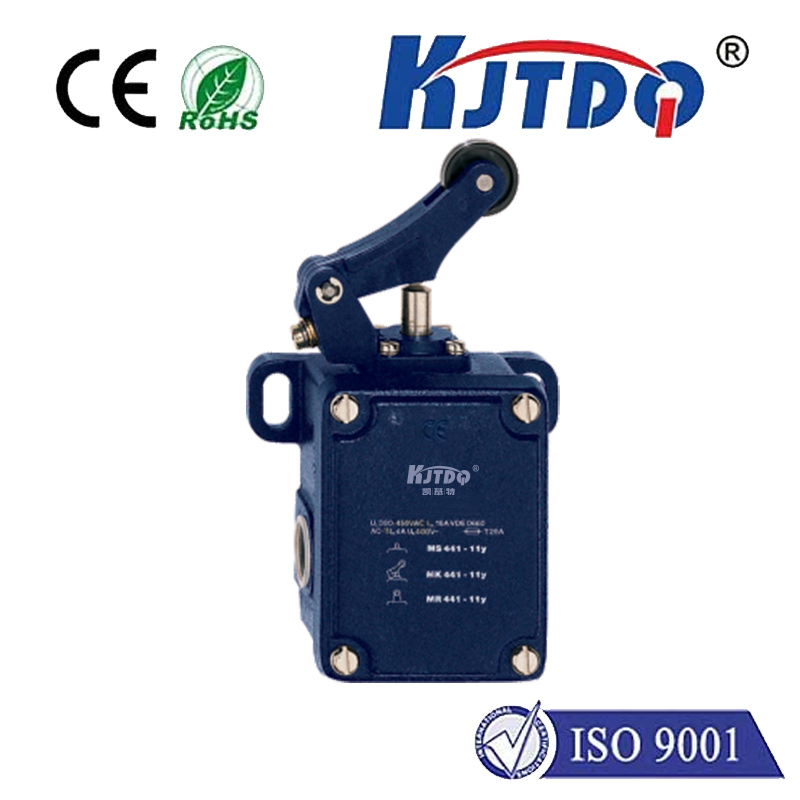
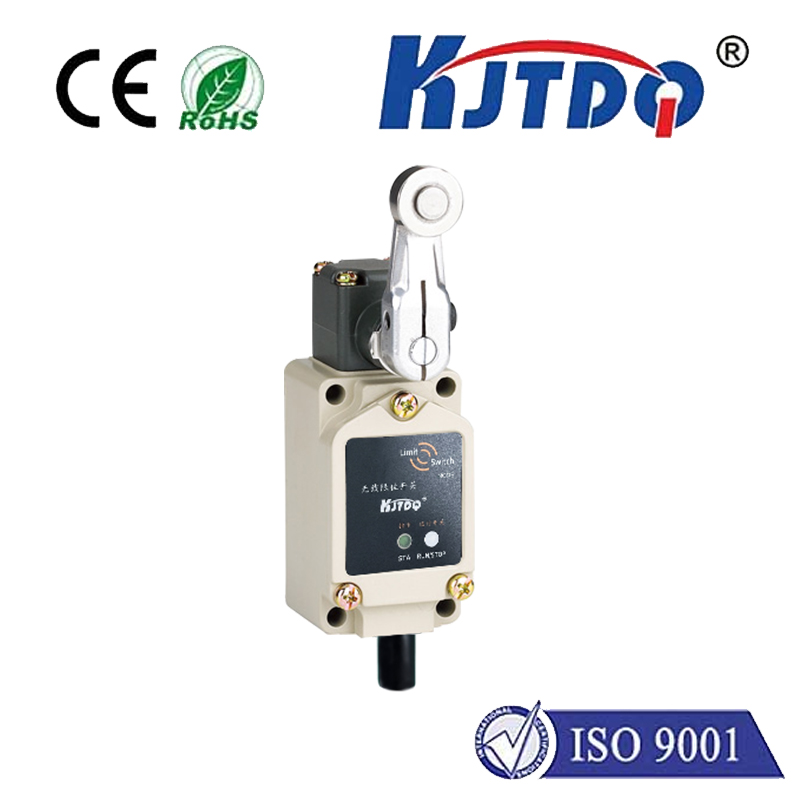
The limit switch in the Elegoo Mars series is typically a mechanical micro-switch positioned to be triggered by the moving assembly. When the printer initiates its homing sequence, the relevant axis moves until it physically contacts and activates this switch. This action sends a signal to the mainboard, telling the printer, "This is the home position." From this calibrated zero point, all subsequent movements are calculated. If this switch is misaligned, dirty, or faulty, the printer can lose its reference, leading to a host of issues. Common symptoms of a problematic limit switch include the print starting too high off the build plate (causing poor adhesion and print failure), the Z-axis grinding or making unusual noises during homing, or the printer displaying homing errors and refusing to start a print.
Regular maintenance is key to preventing switch-related failures. The first and simplest step is visual inspection and cleaning. Over time, resin dust, debris, or even cured resin splatter can interfere with the switch's lever arm or its ability to make proper contact. Using a can of compressed air to gently blow away debris around the switch housing is recommended. For more stubborn grime, carefully clean the lever with a cotton swab lightly dampened with isopropyl alcohol, ensuring the printer is powered off and unplugged. It's also critical to check the switch's mounting. Ensure the screws are tight and that the switch hasn't become loose or shifted from its optimal position. The actuation lever should make firm, positive contact with the triggering part on the moving gantry or build plate assembly.
Sometimes, the issue isn't dirt but mechanical wear. The internal contacts of a mechanical micro-switch can degrade after tens of thousands of actuations. If cleaning and realignment don't resolve homing errors, testing the switch with a multimeter can determine its electrical functionality. Replacement is often the most reliable solution. Sourcing a genuine or compatible micro-switch is important. While the exact model may vary slightly between Elegoo Mars versions, they are generally standard components. The replacement process involves carefully disconnecting the wiring connector, removing the mounting screws, installing the new switch, and reconnecting the wires. It is a straightforward repair that most users can perform with basic tools, following detailed guides or video tutorials specific to their printer model.
Beyond troubleshooting, proper calibration after any maintenance or replacement is non-negotiable. After ensuring the switch is correctly installed, users must perform the printer's Z=0 calibration procedure as outlined in the official Elegoo manual. This process sets the precise distance between the build plate and the FEP film of the VAT at the home position, compensating for any minute variations the new switch might introduce. Neglecting this step can lead to prints being too squished or not adhering at all.
Proactive users can also take steps to minimize future switch wear. Keeping the printer in a clean environment, free from excessive dust and resin contamination, extends the life of all mechanical components, including the limit switch. Listening to the homing sound—a distinct, single *click*—can become a useful diagnostic habit; a double-click, grind, or absence of sound can indicate an emerging issue. In summary, the Elegoo Mars limit switch is a fundamental part of the printing system. By understanding its function, performing routine cleaning checks, and knowing how to test and replace it, users can ensure their printer maintains reliable accuracy, minimizes failed prints, and continues to produce detailed resin creations consistently. This knowledge empowers users to move beyond basic operation into confident printer ownership and maintenance.