check

check

check
check
check
check
check
check
check
check
For laser engraving enthusiasts and professionals seeking to elevate their Sculpfun S6 Pro's performance, integrating a limit switch is a transformative upgrade that often goes overlooked. The Sculpfun S6 Pro, renowned for its robust frame and reliable diode laser, operates on an open-loop system by default. This means it relies on stepper motor pulses to estimate position without physical verification, which can lead to minor inaccuracies over time, especially during long or complex jobs. A limit switch, a simple electromechanical device, acts as a precise homing sensor, providing a consistent physical reference point for the machine's origin (0,0 position). This guide delves into the practical benefits, installation considerations, and the tangible improvements this mod brings to your workflow.
The core advantage of installing a limit switch on your Sculpfun S6 Pro is the establishment of absolute positional accuracy. Every engraving session can start from a perfectly calibrated home position, eliminating the risk of drift. This is crucial for batch production where consistency across multiple items is paramount, or for projects requiring precise alignment over multiple passes. Without a limit switch, you might manually position the laser head before each job, a process prone to human error. With a homing switch, the machine automatically and rapidly moves to the exact same starting point with a simple command, ensuring repeatability down to a fraction of a millimeter.
Beyond repeatability, a limit switch enhances operational safety and protects your machine. It defines the physical boundaries of the X and Y axes, preventing the laser head from crashing into the end of the rails during a homing sequence or due to a software glitch. This safeguards the stepper motors, belts, and mechanical structure from potential damage caused by forceful collisions. Furthermore, it simplifies the workflow in software like LightBurn. The "Find Home" function becomes active, allowing for seamless job setup. You can confidently pause a job, move the head manually for inspection, and then command the machine to return to the exact original coordinates to resume—a feature not reliably possible without a homing sensor.
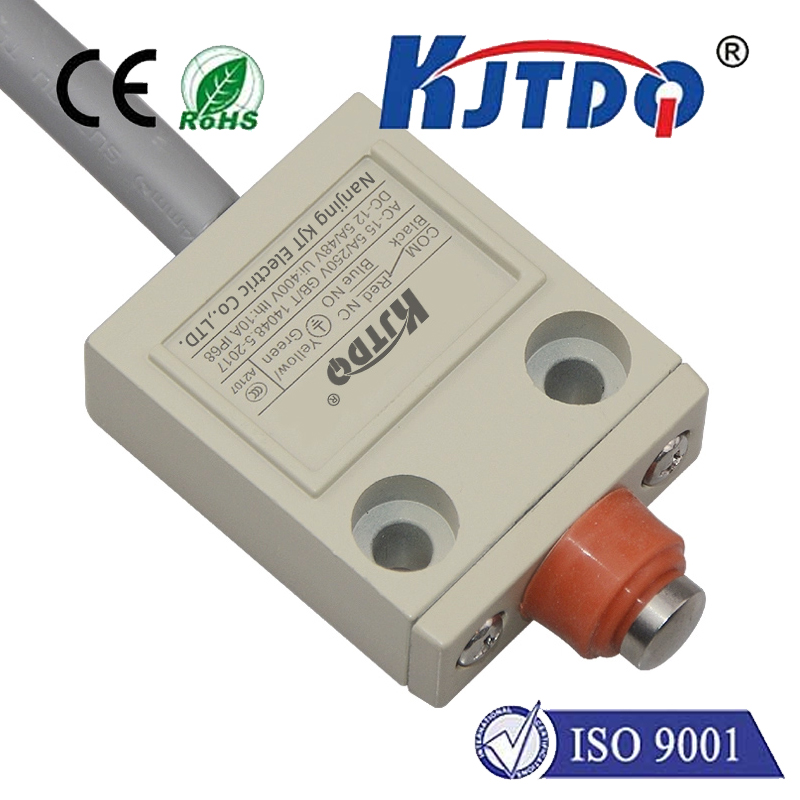
Installation requires some technical comfort but is generally straightforward. You will need a compatible limit switch module (often a mechanical micro-switch or an optical sensor), some wiring, and possibly a minor controller board modification or an external microcontroller like an Arduino. The most common approach involves mounting a small switch at the desired home corner of the engraving area, typically the front-left or rear-left, depending on your preference. The wiring is then connected to a dedicated pin on the S6 Pro's control board or to an added extension board that interfaces with it. Detailed community-driven tutorials and wiring diagrams are abundantly available in user forums and video platforms, providing step-by-step visual guidance. The key is ensuring a secure mount and precise switch activation position.
After physical installation, configuration within your laser control software is the final step. In LightBurn, this involves accessing the device settings to enable the homing function, specifying the switch ports, and setting the homing direction and speed. A successful setup will see the S6 Pro move swiftly towards the switch upon a "Home" command, tap it gently, and stop immediately, now knowing its absolute position. It's recommended to perform several test cycles on scrap material to verify consistency before commencing a critical project.
The impact on engraving quality is immediately noticeable, particularly for intricate designs, detailed vector cuts, and tiled patterns. The machine's movements feel more authoritative and precise. For users who frequently use jigs or fixtures, the ability to home to a perfect zero point means your material placement can be slightly less perfect, as the software offsets will always be consistent relative to the machine's home. This upgrade, while modest in cost and complexity, effectively closes the loop on the S6 Pro's positioning system, bridging the gap between a great consumer-grade machine and a semi-professional tool capable of workshop-level reliability. It empowers users to push the boundaries of their creativity without being hindered by positional uncertainty, making every project more predictable and professionally executed.