check

check

check

check
check
check
check
check

check

check
A limit switch is a fundamental component in many Arduino projects, especially those involving motion control, robotics, or automation. It acts as a simple sensor, detecting the presence or absence of an object, or defining the physical boundaries of movement. When integrated with an Arduino microcontroller, it provides a reliable and cost-effective way to add positional feedback to your creations. This guide will walk you through the essentials of using a limit switch with Arduino, from the basic working principle to a practical wiring example and code.
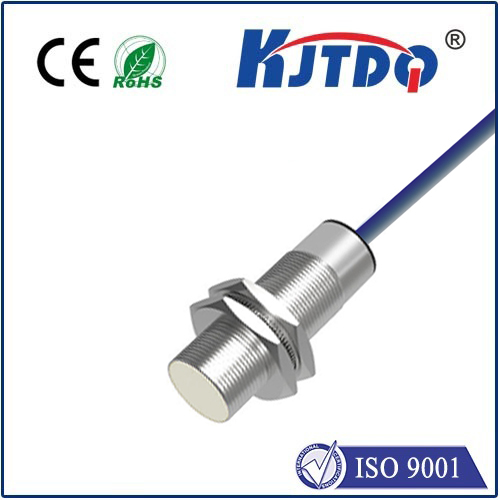
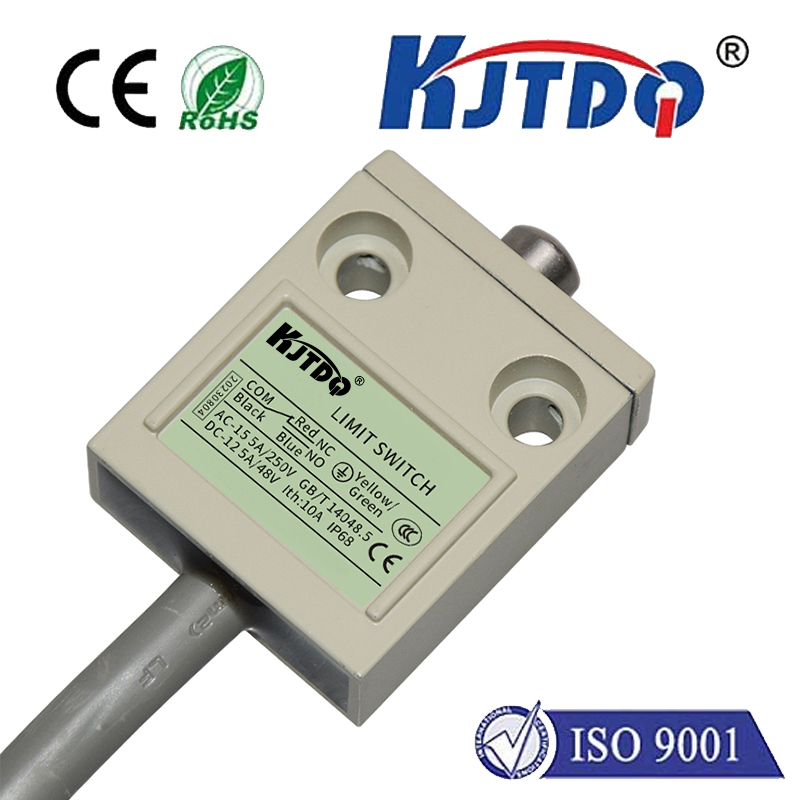
At its core, a limit switch is an electromechanical device. It typically consists of an actuator (like a lever, roller, or plunger) mechanically linked to a set of internal contacts. In its normal, resting state, these contacts are either open (NO - Normally Open) or closed (NC - Normally Closed). When an external object presses the actuator, the switch changes state: the NO contacts close to complete a circuit, and the NC contacts open to break a circuit. This physical change is what the Arduino can detect as a digital signal. The most common type used with Arduino is the NO switch, which is "off" until pressed.
Connecting a limit switch to an Arduino is straightforward. You will need an Arduino board (like the Uno), a limit switch, a 10k ohm pull-down resistor, and some jumper wires. The key is to configure the Arduino's digital input pin correctly to read the switch's state reliably. For a Normally Open switch, one terminal connects to the Arduino's 5V pin. The other terminal connects to two places simultaneously: one leg of the 10k ohm resistor and the chosen digital input pin (e.g., pin 2). The other leg of the resistor connects to Ground (GND). This resistor is crucial—it acts as a pull-down resistor, ensuring the input pin reads a stable LOW (0V) signal when the switch is open, preventing a "floating" state that could cause erratic readings. When the switch is pressed, 5V flows directly to the input pin, which then reads HIGH.
Here is a simple example sketch to read the switch and print the state to the Serial Monitor. This code is perfect for initial testing.
``cpp
const int switchPin = 2; // Digital pin connected to the switch
void setup() {
Serial.begin(9600);
pinMode(switchPin, INPUT); // Set the pin as an input
}
void loop() {
int switchState = digitalRead(switchPin); // Read the pin state
if (switchState == HIGH) {
Serial.println("Switch is PRESSED (Activated)");
} else {
Serial.println("Switch is RELEASED (Normal)");
}
delay(100); // Small delay for readability
}
``
Upload this code, open the Serial Monitor, and press the switch. You should see the message change accordingly. This basic setup confirms your wiring is correct.
Now, let's move to a more practical application: using the limit switch to stop a motor at a specific position. Imagine a linear slide or a garage door opener. You would connect the limit switch at the desired "home" or "end" position. In your code, you would continuously check the switch state within the main loop that controls the motor. Once the switch is pressed (reading HIGH), your program would immediately halt the motor driver signals, preventing the mechanism from moving further. This simple feedback loop prevents damage from over-travel and ensures repeatable positioning.
When designing your project, consider the switch's placement and actuation method. Ensure the moving part will reliably press the actuator. For high-precision applications, you might need to account for switch "bounce"—a rapid, physical jittering of the contacts upon impact that can cause multiple digital readings. While the simple digitalRead() often works, for critical timing, you can implement software debouncing by adding a short delay after the first detection or using more advanced libraries.
Choosing the right limit switch is also important. For light-duty Arduino projects, small, inexpensive micro switches are perfect. For harsher industrial environments, look for switches with sealed housings to protect against dust and moisture. Always check the switch's voltage and current ratings to ensure compatibility with your Arduino's 5V logic and any other components in the circuit.
In summary, the combination of a limit switch and Arduino opens up vast possibilities for creating interactive, safe, and intelligent mechanical projects. It transforms a simple on/off action into a programmable event. Start with the basic connection and code provided, experiment by adding an LED that lights up when the switch is pressed, and then integrate it into a motor control system. The hands-on experience of wiring the circuit, uploading the code, and seeing a physical action trigger a digital response is the best way to solidify your understanding of this essential component in the world of physical computing and DIY automation.