check

check

check

check
check
check
check
check

check

check
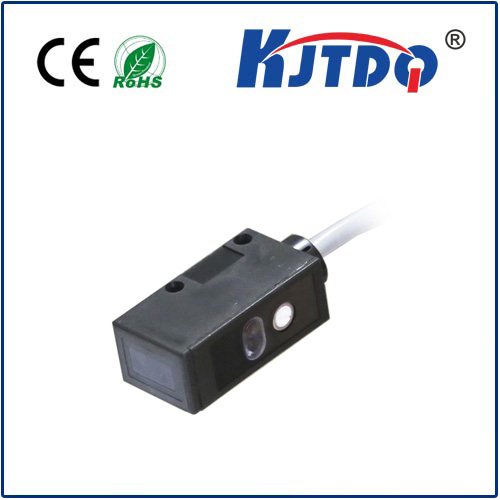
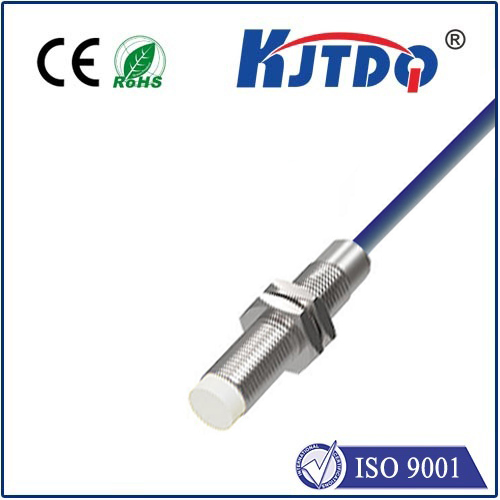
Integrating limit switches with Arduino Uno opens up precise control possibilities for robotics, automation projects, and safety mechanisms. A limit switch is a simple electromechanical device that detects the presence or absence of an object, or its movement to a specific position, by making or breaking an electrical contact. When paired with the versatile and user-friendly Arduino Uno microcontroller, it becomes a powerful tool for defining physical boundaries in a system.
The fundamental principle is straightforward. The limit switch acts as a digital input sensor for the Arduino. Typically, the switch is connected in a "normally open" (NO) or "normally closed" (NC) configuration. In a common NO setup, one terminal connects to the Arduino's 5V pin through a pull-up resistor (often internal to the Arduino usingINPUT_PULLUP mode), and the other terminal connects to a digital input pin and also to Ground. When the switch actuator (like a lever or roller) is not pressed, the circuit is open, and the Arduino reads a HIGH signal. When an object presses the actuator, the switch closes, connecting the input pin directly to Ground, and the Arduino reads a LOW signal. This state change is what your program detects.
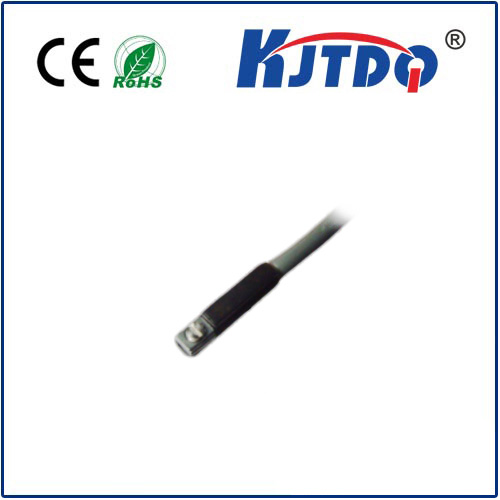
Wiring is a critical first step. For a basic two-pin limit switch, connect one pin to a chosen digital pin on the Arduino (e.g., Pin 2). Connect the same Arduino pin to 5V via an external 10k Ohm resistor (if not usingINPUT_PULLUP). Connect the other switch pin to the Arduino's GND. For a more reliable setup, especially in electrically noisy environments, consider using a three-pin switch which often includes COM (common), NO, and NC terminals, allowing for more flexible fail-safe configurations. Always ensure the power is disconnected when making connections.
On the software side, the code is simple yet effective. Begin by declaring the switch pin as an input in thesetup() function, enabling the internal pull-up resistor withpinMode(pin, INPUT_PULLUP);. In theloop() function, continuously read the state of the pin usingdigitalRead(). Your program logic then dictates the action. For instance, if controlling a motor via a relay or motor driver, the code can be written to stop or reverse the motor when the switch is activated (state goes LOW). Implementing a short debounce delay usingmillis() or a simpledelay() is highly recommended to filter out mechanical contact noise that could cause multiple false triggers.
A practical application is in a linear actuator or a CNC machine axis. You would mount a limit switch at each end of the desired travel. When the moving part contacts the switch at the "home" position, the Arduino stops the drive motor. This provides a repeatable reference point, eliminating cumulative positional errors. Another key use is in safety interlocks; for example, ensuring a protective guard is in place before a machine can start, with the limit switch confirming the guard's position.
For enhanced reliability, consider these tips. Use robust, industrial-grade switches for high-cycle or harsh environments. Employ optical or Hall-effect sensors as non-contact alternatives for extremely high precision or where physical contact is undesirable. In code, implement state machines for more complex control sequences rather than relying solely on simpleif statements in the loop. Always include explicit comments in your code for future reference and troubleshooting.
Troubleshooting common issues often involves checking connections with a multimeter for continuity. If the Arduino reads unpredictable values, verify your pull-up/pull-down resistor configuration. Ensure the switch is physically aligned correctly to be actuated by the target object. Power supply noise can sometimes be an issue; adding a small capacitor (e.g., 0.1µF) across the switch terminals can help suppress electrical noise.
By mastering the connection between an Arduino Uno and a limit switch, you add a fundamental layer of physical feedback to your projects. This combination provides a cost-effective, reliable method for adding positional control, end-stop detection, and safety features, forming the backbone of countless automated systems. The process demonstrates the core strength of microcontrollers: interpreting simple digital signals from the physical world to make intelligent control decisions.