xtool limit switches
- time:2025-07-31 03:52:02
- Click:0
XTool Limit Switches: Your Machine’s Silent Guardians of Precision and Safety
Imagine your laser cutter homing perfectly every single time, hitting the exact starting point without fail. Or picture your CNC router confidently carving intricate details, knowing precisely where its boundaries lie, preventing catastrophic crashes. This isn’t just wishful thinking; it’s the everyday reality enabled by a critical, yet often overlooked, component: the xTool limit switch. Understanding these small but mighty sensors is key to unlocking the full potential of your machine’s accuracy, safety, and longevity.
What Exactly Are Limit Switches, and Why Do They Matter?
At their core, limit switches are simple electromechanical devices. Think of them as highly reliable traffic lights for your machine’s moving parts. When a specific axis (X, Y, or Z) reaches a pre-defined physical limit within its travel path, a mechanical actuator on the machine triggers the switch. This sends a clear electrical signal to the machine’s controller: “Stop! Boundary reached!” or “Home position found!”
In the context of xTool machines like the popular D1 series laser cutters or the emerging CNC offerings, limit switches serve several indispensable functions:
- Homing & Establishing Position Zero: This is arguably their most critical role. During the homing sequence, the machine deliberately drives each axis towards its physical limit switch. Contact with the switch provides an absolute, repeatable reference point. From this known “home” position, the machine accurately calculates the coordinates for the entire job, ensuring everything cuts or carves exactly where it’s supposed to. Precision calibration starts here.
- Preventing Physical Over-Travel: Accidents happen. A job file error, software glitch, or unexpected obstruction could theoretically send a machine component crashing beyond its intended physical boundaries. Limit switches act as the final, physical safety net. If an axis tries to travel beyond its designed limit, the switch triggers an immediate emergency stop (E-stop), preventing damage to the motors, lead screws, belts, bearings, or the machine’s frame. This is essential machine protection.
- Defining Work Area Limits: Some setups use limit switches not only at the machine’s extreme ends but potentially at intermediate points to define specific work zones or safe areas, ensuring the tool head stays within the designated material boundaries.
How xTool Implements Limit Switches: Reliability Meets Functionality

xTool integrates limit switches strategically into its machines to maximize reliability and user-friendliness:
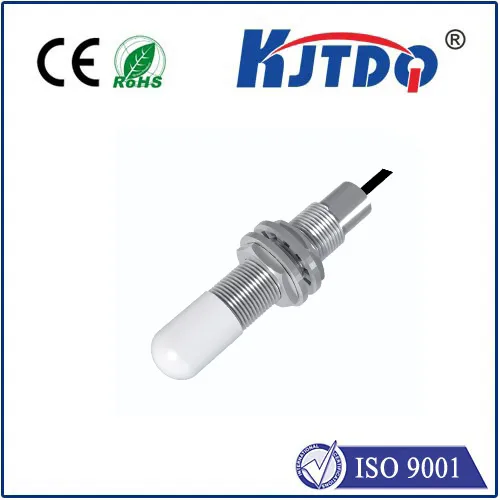
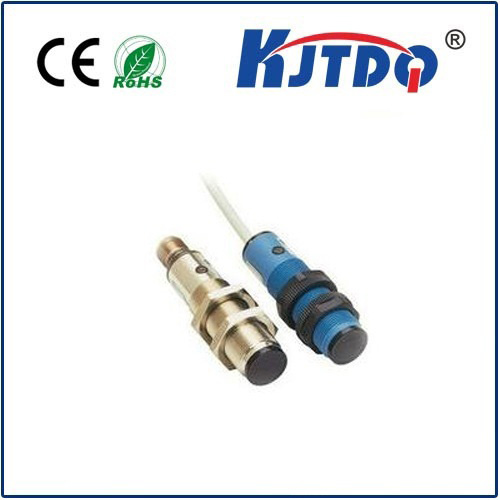
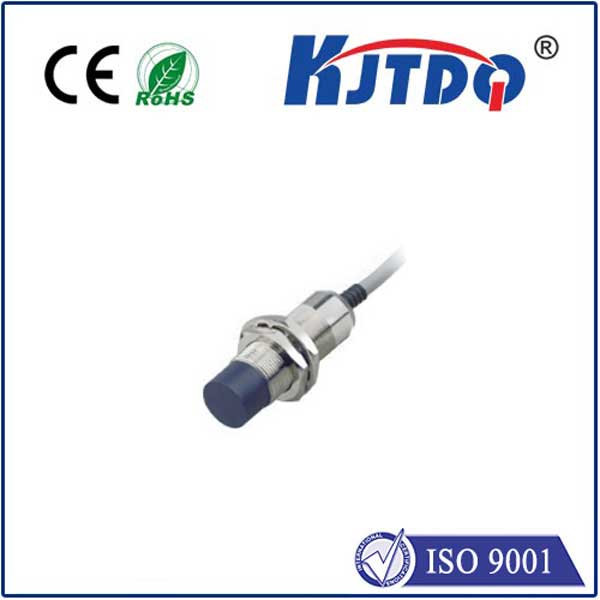
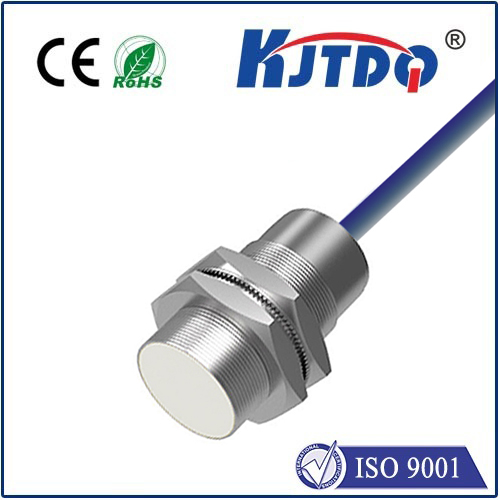
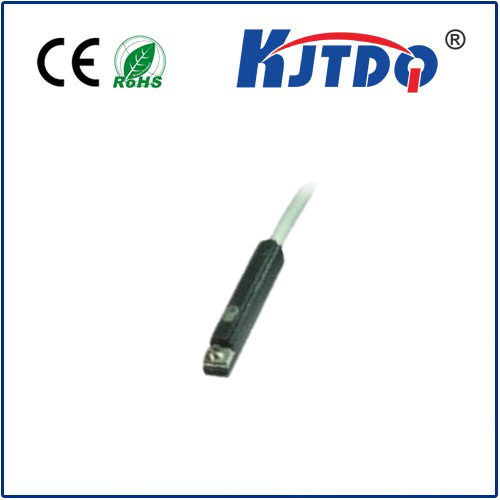
- Mechanical Switches: xTool primarily utilizes robust mechanical micro-switches in its designs. These offer a proven track record of reliability and a distinct physical “click” upon actuation, providing tactile feedback that they’ve engaged.
- Strategic Placement: You’ll typically find limit switches positioned at the ends of each axis track. For example, the X-axis carriage will have switches at the extreme left and right ends. Homing usually involves moving towards one specific “home” position, often utilizing switches at the negative end of each axis (e.g., back-left corner).
- Integration with Control Board: The switches are wired directly into the machine’s main control board. When triggered, this board instantly interprets the signal – either as a successful homing event or as an over-travel alarm requiring immediate cessation of movement.
The Tangible Benefits: Why You Need Your Limit Switches Working Perfectly
Properly functioning xTool limit switches deliver concrete advantages:
- Unmatched Repeatability: Consistent homing translates directly to consistent, precise cuts and engravings project after project. Your alignment marks will always land perfectly.
- Enhanced Safety: They are the primary defense against mechanical overloads and crashes, protecting your significant investment in the machine itself. Peace of mind is invaluable.
- Reduced Material Waste: Precise homing minimizes misalignment errors that lead to ruined workpieces. Save time and money.
- Extended Machine Lifespan: By preventing harsh physical impacts and stress on motors and drivetrains, limit switches actively contribute to the long-term durability of your xTool machine.
- Essential for Advanced Features: Reliable homing is fundamental for features like laser autofocus, accurate origin setting (absolute positioning), and utilizing the full bed size effectively.
Ensuring Peak Performance: Installation, Calibration, and Troubleshooting
While generally robust, ensuring your xTool limit switches operate flawlessly requires awareness:
- Secure Mounting: During initial setup or maintenance, ensure the switch bodies and their mounting brackets are firmly secured. Vibration over time can loosen screws. A loose switch leads to inconsistent triggering or failure. Pay close attention during assembly.
- Actuator Arm Alignment: The small lever arm on the switch must make clean contact with the actuator (often a small block or pin) on the moving carriage. Ensure they line up correctly and the arm isn’t bent or obstructed. Misalignment is a common cause of homing failures.
- Physical Obstructions: Dust, debris, or even loose wiring can sometimes block the actuator arm from moving freely or prevent the carriage from reaching the switch. Keep the switch areas clean!
- Wear and Tear: Though durable, mechanical switches can eventually wear out after millions of cycles. Failures often manifest as the machine failing to home consistently, stopping prematurely before reaching the switch, or ignoring the switch and crashing into the end (though firmware safeties usually prevent this).
- Firmware & Settings: Occasionally, issues can stem from firmware glitches or incorrect settings related to homing speeds or directions in the control software (xTool Creative Space, LightBurn, etc.). Ensure your software is updated.
Troubleshooting Steps:
- Visual Inspection: Power down the machine. Check for obvious physical damage, loose mounts, misaligned actuators, or obstructions near all limit switches.
- Cleaning: Gently clean the switch and actuator areas with compressed air or a soft brush.
- Manual Check: Carefully move the carriage by hand toward the switch location (power off). Feel/listen for the distinct “click” when the actuator presses the switch lever. Do this for each axis.
- Connection Check: Ensure the wiring plugs are securely seated both at the switch and the control board.
- Software: Reboot your machine and computer. Check for software/firmware updates. Verify homing settings.
- Advanced: Consult xTool support guides or community forums for specific error codes.
Going Beyond Stock: Advanced Considerations
For users pushing boundaries, like those installing xTool machines on custom frames or very large workspaces, understanding the role of limit switches becomes even more critical. You might need to:
- Extend Wiring: Safely extending switch cables requires proper techniques to avoid signal interference or voltage drop.
- Adjust Position: Custom mounts might necessitate repositioning the switch body or actuator block.
- Potential Upgrades: While stock switches are good, some advanced users explore alternative switch types (like optical sensors) for specific needs, though this requires significant technical knowledge and firmware adjustments.
The Foundation of Flawless Operation
Your xTool limit switches are far more than just mechanical parts; they are the silent sentinels ensuring the precision and safety that make your creative or productive work possible. They provide the fundamental reference point for every single operation your machine performs. Investing a little time in understanding their function, performing basic maintenance like ensuring they are clean and securely mounted, and knowing how to troubleshoot common issues, pays massive dividends in terms of project success, material savings, and machine longevity. Keep your guardians well-tuned, and your xTool machine will reward you with consistently outstanding, reliable results.