arduino pnp sensor
- time:2025-07-08 01:03:26
- Click:0
Bridging the Gap: How to Interface PNP Sensors with Arduino Successfully
Ever connected an industrial sensor to your Arduino, wired it meticulously, uploaded your code, and… nothing happened? If that sensor proudly proclaims “PNP” on its datasheet, you’ve likely encountered the classic Arduino-PNP compatibility puzzle. Don’t worry; it’s a common hurdle with a straightforward solution. This guide will demystify PNP sensors, explain why they initially frustrate Arduino users, and provide clear, actionable steps to get them working flawlessly.
Understanding the Labels: PNP vs. NPN
Industrial sensors often use transistor outputs for robustness and noise immunity. The two main types are defined by their output transistor configuration:
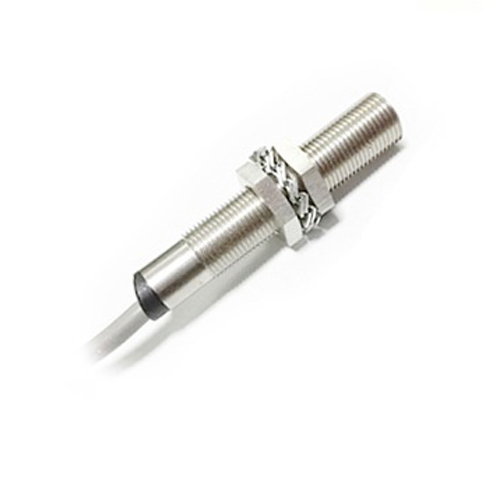
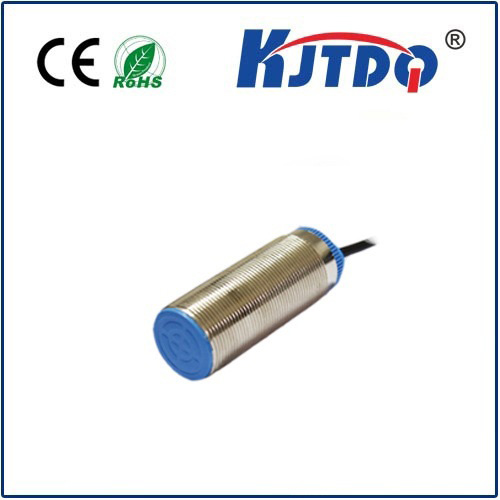
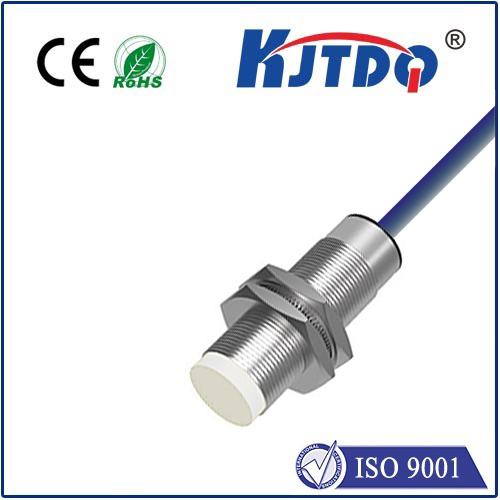
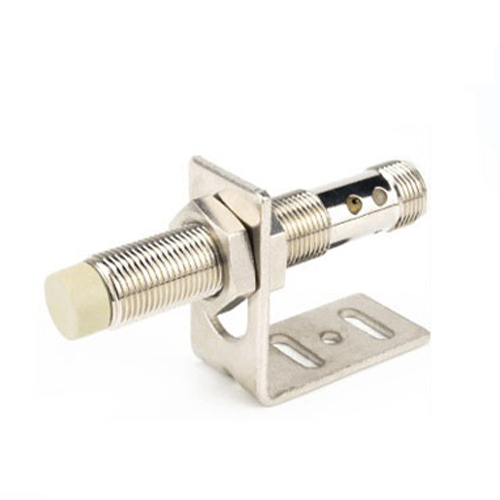
- PNP (Positive-Negative-Positive): Often called a “sourcing” sensor. When active (detected), its output pin provides or sources a positive voltage (typically +24V DC, common in industrial settings) relative to the sensor’s 0V (GND) line. Think of it as “pushing” voltage out.
- NPN (Negative-Positive-Negative): Often called a “sinking” sensor. When active, its output pin connects the load (like your Arduino input) to the sensor’s 0V (GND) line, effectively “sinking” current to ground. When inactive, it’s open circuit.
The Core Problem: Arduino Doesn’t Speak “PNP Directly”
Here’s where the clash happens:

- Voltage Level Mismatch: Most Arduino boards (Uno, Nano, Mega, etc.) operate at 5V TTL logic levels. Their digital input pins are designed to reliably recognize:
- 0V to ~1.5V as a LOW signal (logic 0)
- ~3.0V to 5V as a HIGH signal (logic 1)
A typical PNP sensor outputs +24V when active. Plugging this directly into an Arduino pin risks permanently damaging the microcontroller, as 24V vastly exceeds its 5V tolerance.
- Logic State Mismatch (The Flip-Flop): Even if the voltage weren’t an issue (which it always is!), the fundamental logic behavior is inverted:
- When a PNP sensor is active (detected), it outputs +24V (HIGH).
- When it’s inactive, it outputs 0V (LOW).
Arduino pins, when configured as inputs, expect a signal relative to their own GND (0V). To an Arduino, a +24V signal screams “HIGH”, which would incorrectly correspond to the sensor being active. However, without voltage conversion, the damage happens first.
The Solution: Bridging the Gap Safely
To safely and correctly interface a PNP sensor with Arduino, we need to perform two essential tasks:
- Voltage Level Shifting: Reduce the sensor’s active output (e.g., 24V) down to a safe level for the Arduino (5V).
- Logic Level Translation (Optional, for Clarity): Optionally invert the logic signal so that a sensor “active” state results in a LOW reading on the Arduino and vice-versa. This step is crucial only if you require the Arduino to see an active sensor as LOW. Often, you can handle the inversion in code. The voltage shift must happen regardless.
Method 1: The Reliable Voltage Divider
This is the simplest passive solution, ideal for low-current signals and prototyping. We use two resistors to create a voltage divider network.
- Concept: Connect the PNP output to a large resistor (
R1), then connect R1 to your Arduino input pin and to a smaller resistor (R2) that goes to Arduino GND.
- Calculations: The voltage at the Arduino pin (
Vout) is calculated as: Vout = (Sensor Voltage * R2) / (R1 + R2). Choose R1 and R2 so Vout is ≈ 5V when the sensor is active (24V output) and ≈ 0V when inactive.
- Example Values:
R1 = 4.7k Ohm, R2 = 1.2k Ohm (commonly available values). Vout = (24V * 1200) / (4700 + 1200) ≈ 4.9V. Perfect!
- Component Safety: The resistors must be rated for the sensor’s voltage (typically 1⁄4 Watt is fine).
- Logic State: This method does not invert the logic. Active PNP (24V) becomes ≈5V (Arduino HIGH). Inactive PNP (0V) becomes 0V (Arduino LOW). You’ll need to account for this inversion in your Arduino code (e.g.,
if (digitalRead(sensorPin) == LOW) { // Sensor is INACTIVE }).
const int sensorPin = 2; // Sensor connected to digital pin 2 (via divider)
void setup() {
pinMode(sensorPin, INPUT);
Serial.begin(9600);
}
void loop() {
int sensorState = digitalRead(sensorPin);
// Remember: Active PNP = HIGH (~5V) on Arduino pin
//           Inactive PNP = LOW (0V) on Arduino pin
if (sensorState == HIGH) {
Serial.println("Sensor ACTIVE!"); // Object detected
} else {
Serial.println("Sensor INACTIVE"); // No object
}
delay(100); // Short delay for readability
}
Method 2: The Robust Optocoupler / Opto-Isolator
For industrial environments with significant electrical noise or where complete electrical isolation between the sensor circuit and Arduino is desired, an optocoupler is the gold standard.
- Concept: An optocoupler contains an LED (inside) and a phototransistor. When the PNP sensor is active, its +24V output lights the LED inside the optocoupler (a current-limiting resistor is essential here). The light triggers the phototransistor, which then acts like a switch pulling the Arduino-side signal down to GND.
- Benefits:
- Electrical Isolation: The sensor’s high-voltage circuit is completely separated from the Arduino’s delicate 5V circuit.
- Noise Immunity: Excellent resistance to voltage spikes and electrical noise common in industrial settings.
- Logic Inversion: This method inherently inverts the logic signal. Active PNP (LED on) makes the optocoupler’s output transistor conduct, pulling the Arduino pin to GND (LOW). This often aligns perfectly with the intuitive expectation (Active Sensor = LOW signal).
- Wiring: Requires careful connection of the sensor side (LED anode/cathode with resistor) and the Arduino side (phototransistor collector/emitter with a pull-up resistor).
”`cpp
const int sensorPin = 3; // Optocoupler output connected to pin 3
void setup() {
pinMode(sensorPin, INPUT_PULLUP); // Use internal pull-up resistor!
Serial.begin(9600);
}
void loop() {
int sensorState = digitalRead(sensorPin);