check

check

check

check
Integrating limit switches with a CNC Shield V3 is a critical step for enhancing the safety, accuracy, and reliability of your CNC machine. These switches act as physical sensors that detect when a machine axis reaches its maximum travel, preventing potential damage to motors, lead screws, or the workpiece. For hobbyists and professionals using Arduino-based setups like the popular CNC Shield V3 paired with a GRBL controller, proper limit switch configuration ensures smooth operation and minimizes errors during milling, engraving, or 3D printing tasks.
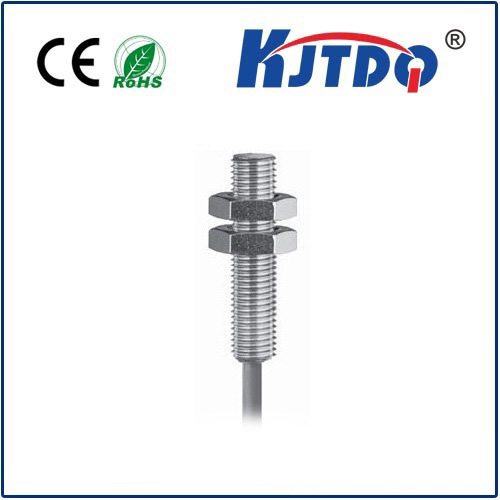
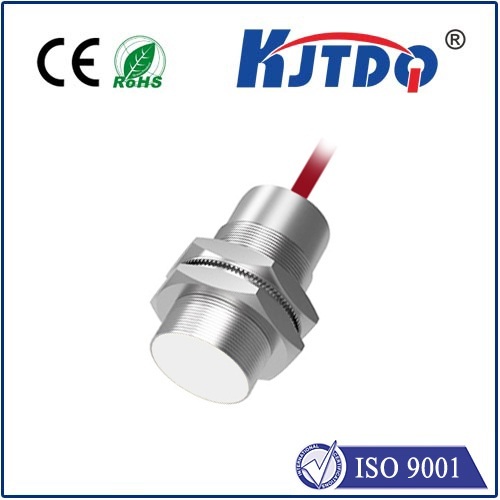
The CNC Shield V3, designed for Arduino Uno or Mega, simplifies motor control by managing stepper drivers such as A4988 or DRV8825. It includes dedicated pins for connecting limit switches on the X, Y, and Z axes, typically labeled as X-, Y-, Z- for negative direction limits. Some versions also support positive direction limits or a combined all-axis stop. To set up limit switches, you’ll need mechanical or optical switches wired to these pins, along with a common ground. Mechanical switches are cost-effective and durable, while optical switches offer higher precision without physical contact. Wiring follows a normally open (NO) or normally closed (NC) configuration; NC setups are often preferred for safety, as a broken wire triggers a stop signal, reducing crash risks.
Once hardware is connected, configuring GRBL firmware is essential. Using software like Universal GCode Sender or CNCjs, you can adjust GRBL settings to enable limit switch functionality. Key parameters include $5=1 (to enable hard limits), $21=1 (to enable homing cycle), and $22=1 (to enable homing direction invert, if needed). Testing switches manually before operation helps verify responsiveness—gently triggering each switch should pause the machine immediately. If issues arise, check for loose connections, incorrect pin assignments in GRBL, or electrical noise interference, which can be mitigated with shielded cables or pull-up resistors.
Beyond basic setup, advanced users optimize limit switch placement for efficiency. For instance, placing switches slightly beyond the usable workspace allows for homing sequences that reference machine coordinates accurately. Regular maintenance, like cleaning switch contacts and verifying alignment, prolongs lifespan. Integrating limit switches with CNC Shield V3 not only protects your equipment but also improves repeatability, especially in projects requiring high precision, such as PCB milling or detailed wood carving.
In summary, limit switches are indispensable for CNC safety, and the CNC Shield V3 provides a straightforward interface for implementation. By following wiring best practices and GRBL configurations, you can create a robust system that prevents accidents and enhances machining quality. Whether you’re building a DIY CNC router or upgrading an existing machine, this integration fosters confidence in automated operations, ensuring your projects run smoothly from start to finish.