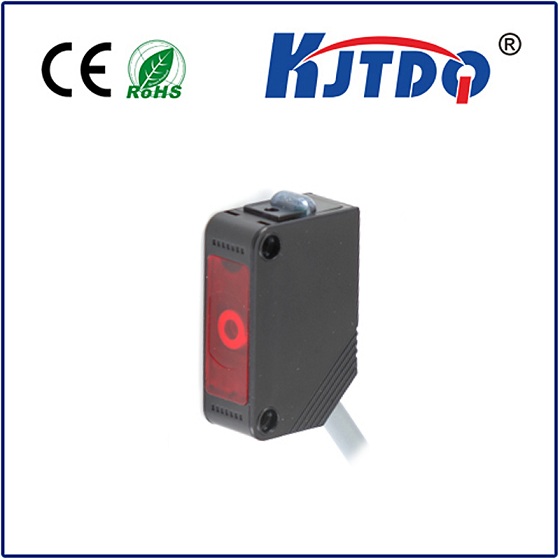
photoelectric sensor mounting
- time:2025-09-10 20:59:15
- Click:0
Photoelectric Sensor Mounting: The Critical Factor for Reliable Detection and Peak Performance
Imagine this: a state-of-the-art photoelectric sensor, capable of detecting objects with micron-level precision, installed on your high-speed packaging line. Yet, it constantly misfires, causing jams, rejects, and costly downtime. The culprit? Not the sensor itself, but how it’s mounted. Photoelectric sensor mounting is far more than a simple mechanical task; it’s the cornerstone of achieving reliable, consistent, and accurate object detection in any application. Neglecting proper mounting principles undermines even the most sophisticated sensor’s capabilities, turning a potential solution into a persistent headache.
Understanding the criticality of mounting begins with appreciating how photoelectric sensors work. They rely on a light beam (visible, infrared, or laser) traveling from an emitter to a receiver (or bouncing back from a reflector/target). Any deviation in the beam’s path, stability, or environmental conditions at the mounting point can drastically affect performance. Here’s why getting the mount right is non-negotiable:

- Precision Alignment is Paramount: Especially for through-beam sensors (separate emitter and receiver) and retro-reflective sensors (relying on a reflector), the alignment between components must be exact. Even slight angular misalignment can cause the beam to miss its target entirely or significantly weaken the signal. Proper mounting ensures the initial alignment is precise and provides the rigidity to maintain it over time despite vibrations or incidental bumps.
- Stability Against Vibration and Shock: Industrial environments are rarely static. Machinery vibrations, conveyor impacts, and operator interactions can jostle poorly mounted sensors. A secure, rigid mount minimizes movement, preventing shifts in alignment that lead to false triggers (detections when no object is present) or missed detections.
- Environmental Protection: Sensors mounted near processes might face splashing liquids, dust clouds, flying debris, or extreme temperatures. The mounting position and chosen hardware play a vital role in shielding the sensor’s lens and body. Positioning it out of the direct line of splatter or using protective brackets and enclosures is often part of the mounting strategy.
- Optimal Field of View and Sensing Range: Mounting location dictates the sensor’s perspective. Placing it too far from the target might push it beyond its specified sensing range. Mounting it at an unintended angle might cause it to “see” background objects or structures (causing false triggers) or miss the intended target entirely. Strategic mounting ensures the target passes cleanly through the sensor’s effective detection zone.
- Mitigating Background Interference: Reflective backgrounds, glossy surfaces nearby, or even ambient light sources (like direct sunlight or welding arcs) can interfere with photoelectric sensors, particularly diffuse models. Careful mounting – adjusting angle, distance, or using physical barriers (baffles) – is often the most effective way to eliminate this interference.
Best Practices for Flawless Photoelectric Sensor Mounting
Achieving optimal performance requires following systematic mounting procedures. Here’s a guide to ensure success:
- Consult the Manual First: This cannot be overstated. Every sensor model has specific mounting dimensions, sensing range diagrams, environmental ratings (IP, NEMA), and torque specifications for mounting hardware. Ignoring these is the fastest route to failure.
- Strategic Location Selection:
- Clear Line of Sight: For through-beam and retro-reflective types, ensure an unobstructed path exists and will remain unobstructed during operation. Consider moving parts, potential buildup, or pallet overhang.
- Optimal Sensing Distance: Mount within the sensor’s specified operating range. Don’t push it to its absolute limit.
- Avoid Reflective Backgrounds: Position diffuse sensors so that background surfaces are non-reflective, dark, and as far behind the target as possible. Angling the sensor slightly can often help.
- Environmental Considerations: Mount away from direct sources of dust, chips, high-pressure spray, or extreme heat/cold if possible. If unavoidable, ensure the sensor’s IP rating is sufficient and use additional protective accessories.
- Accessibility: Consider future needs for adjustment, cleaning, or replacement. Mounting in a hard-to-reach location creates maintenance challenges.
- Choosing the Right Hardware:
- Sturdy Brackets: Use manufacturer-recommended or robust aftermarket mounting brackets designed for the specific sensor size and weight. Vibration resistance is key.
- Appropriate Fasteners: Use bolts, nuts, and washers suitable for the mounting surface (metal, plastic) and environmental conditions (e.g., stainless steel for corrosive environments). Always adhere to specified torque values to avoid damaging sensor threads or creating instability.
- Adjustability: Pivoting mounts or sliding brackets are invaluable for achieving and fine-tuning precise alignment, especially during initial setup or after maintenance. Fixed mounts are suitable only when position is guaranteed static.
- Protective Accessories: Protective shrouds guard lenses from impact and contamination. Sunshields mitigate ambient light interference. Mounting bases provide stable platforms.
- Meticulous Alignment:
- Through-Beam & Retro-Reflective: Coarse align emitter and receiver/reflector visually. Power on the sensor and use its alignment indicator (usually an LED status light) to achieve a stable “no object” state (beam received/reflected). Fine-tune for the strongest possible signal. Tighten mounting hardware gradually while monitoring the signal to prevent shift.
- Diffuse: Align so the target passes perpendicularly through the center of the beam at the desired sensing point. Use alignment tools if provided, or manually adjust while testing with the target object.
- Secure Wiring and Cable Management:
- Strain Relief: Always use the integrated cable gland or a separate strain relief clamp where the cable enters the sensor. This prevents tugging forces on internal connections.
- Secure Routing: Route cables away from moving parts, sharp edges, heat sources, and high-traffic areas. Use cable ties, conduits, or cable carriers. Ensure cables don’t dangle or create trip hazards. Avoid placing excessive weight or tension on the sensor’s cable connection.
- Rigorous Post-Mounting Verification and Testing:
- Functionality Check: Test detection reliability with the actual targets moving at operational speed. Don’t rely solely on static testing.
- Stability Check: Gently tap near the sensor (emulate vibration) and observe if the status indicator flickers or triggers falsely.
- Environmental Simulation: If feasible, test under conditions mimicking the operational environment (e.g., spray mist near it, introduce background reflectors, simulate lighting changes).
- Teach/Set Sensitivity: For sensors with adjustable sensitivity or background suppression, perform the teach/set procedure after final mounting and alignment to ensure optimal discrimination against the actual background.
The Tangible Benefits of Getting Mounting Right
Investing time and effort in perfecting photoelectric sensor mounting yields significant returns:
- Maximized Uptime: Drastically reduces false triggers and missed detections, preventing machine stoppages.
- Enhanced Product Quality: Ensures consistent and accurate detection critical for process control, positioning, and quality checks.
- Reduced Maintenance Costs: Sensors and associated equipment last longer when not subjected to vibration, shock, or environmental stress caused by poor mounting.
- Improved Safety: Reliable object detection is often integral to machine safety systems (e.g., light curtains, safety gates). Proper mounting underpins this reliability.
- Optimized Sensor Lifespan: Protecting sensors from physical damage and environmental hazards extends their operational life.
Photoelectric sensor technology offers incredible versatility and precision. However, its effectiveness hinges entirely on the precision and care taken during installation. **View sensor mounting not as an after

