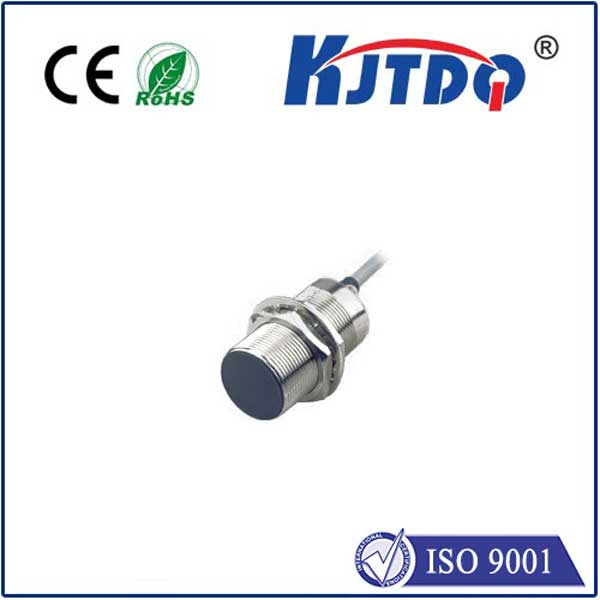
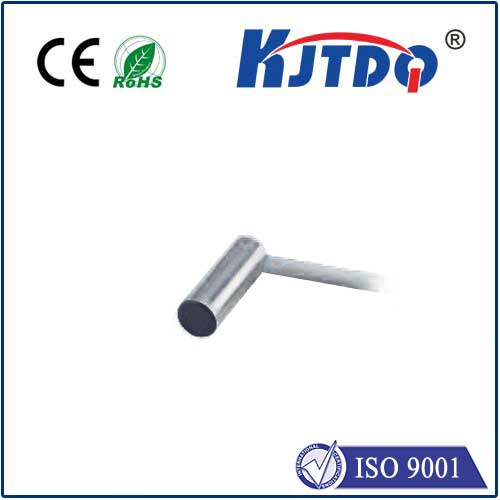
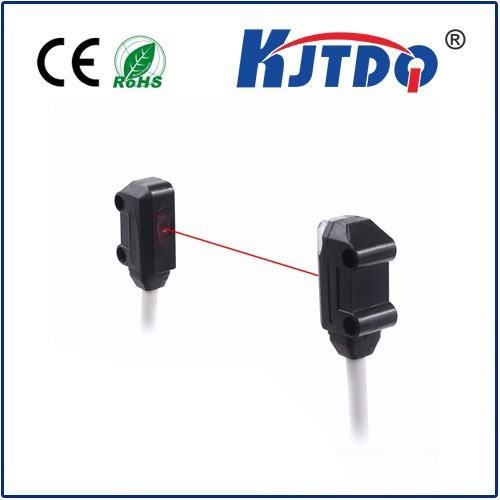
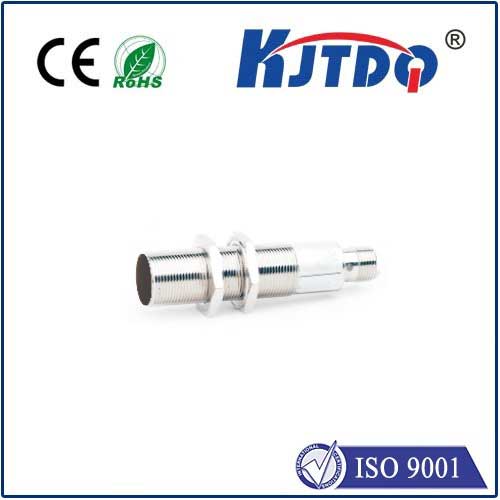
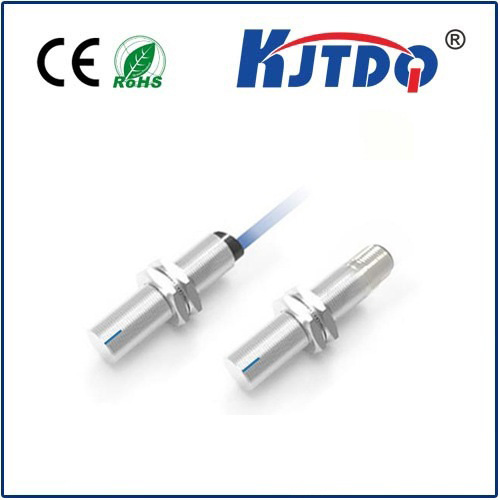
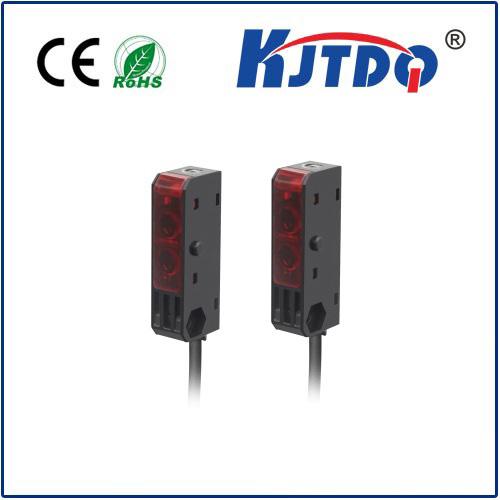
indoor photocell light switch
- time:2025-07-25 03:49:43
- Click:0
Smart Savings & Convenience: How Indoor Photocell Light Switches Transform Your Home
Ever walked into a dark room with your hands full, desperately trying to find the light switch? Or realized you left the bathroom light on… again… hours after leaving the house? We’ve all been there. But what if your lights could simply turn themselves on when you enter a room and off when you leave, perfectly adapting to the available daylight? Enter the indoor photocell light switch – a clever, energy-saving upgrade that brings effortless automation to your everyday spaces.
While many associate photocells (also called photoelectric cells or light sensors) with outdoor security lighting or street lamps, their application indoors is a powerful, often underestimated, solution. An indoor photocell light switch is fundamentally a light-sensing circuit integrated into your standard wall switch plate. Its primary function is simple yet genius: detect ambient light levels and automatically control connected fixtures accordingly.
How Does This “Automatic Eye” Work?
At the heart of the switch is a tiny photoresistor or photodiode. This component acts like a tiny eye:
- Light Detection: When sufficient natural light (or artificial light from other sources) reaches the sensor, its electrical resistance is low.
- Darkness Detection: As ambient light levels drop (dusk, entering a windowless hallway, closing curtains), the sensor’s resistance increases significantly.
- Circuit Control: This change in resistance triggers the switch’s internal circuitry. When darkness falls below a preset threshold (measured in lux), the switch activates, turning the connected light on. Conversely, when sufficient ambient light returns, the switch deactivates, turning the light off.
It’s Not Motion Sensing: Understanding the Key Difference

It’s crucial to distinguish an indoor photocell light switch from the common PIR (Passive Infrared) motion sensor switch. While both automate lighting, they respond to entirely different stimuli:
- Photocell Switch: Responds ONLY to light levels. It doesn’t care if anyone is moving in the room or not. Its sole purpose is to turn lights on when it gets dark enough (like dusk) and off when it gets bright enough (like dawn or when other lights provide sufficient illumination).
- Motion Sensor Switch: Responds to body heat and movement. It typically ignores light levels and will turn lights on only when it detects motion within its field of view, turning them off after a period of inactivity.
Why Choose an Indoor Photocell Switch? The Compelling Benefits
Integrating light-sensing automation inside your home offers significant advantages:
- Effortless Convenience: No more fumbling for switches in the dark. Lights turn on automatically upon entering a room with insufficient light, enhancing safety, especially in hallways, stairwells, landings, and entryways.
- Substantial Energy Savings: This is arguably the most significant benefit. Forgetfulness becomes irrelevant. Lights powered by a photocell switch only consume energy when actually needed – when natural light is insufficient. This eliminates the wasteful “left-on-all-day” scenario, potentially reducing lighting electricity usage by 20% or more in frequently used but inconsistently lit areas. Over time, this translates to noticeable savings on your utility bills.
- Enhanced Safety & Security: Well-lit entrances, hallways, and garages minimize tripping hazards during low-light hours. While not a substitute for dedicated security systems, an automatically lit interior upon entering or as dusk falls can subtly deter unwanted attention.
- Extended Bulb Life: Reducing the number of hours your bulbs are illuminated naturally extends their operational lifespan.
- Perfect for Specific Spaces: They shine in areas where consistent light levels trigger predictable light needs:
- Hallways & Stairwells: Provide safe passage anytime ambient light is low.
- Closets & Pantries: Light only when the door is open (often combined with a door switch or relying on the natural darkness inside when closed).
- Utility Rooms & Garages: Often lack natural light; lights activate upon entry when dim.
- Bathrooms (with windows): Can replace manual switches, turning vanity lights on only when daylight fades but someone is present (sometimes used in conjunction with occupancy sensors).
Key Considerations Before Installation
To ensure optimal performance and satisfaction:
- Placement is Paramount: The sensor must be positioned where it accurately reads the ambient light you want it to respond to. Avoid direct sunlight shining onto the sensor itself during the day, as this can trick it into thinking it’s always bright. Conversely, ensure it’s not installed in a permanently dark recess or constantly shaded by furniture. Mounting away from direct glare of the controlled light fixture itself is also critical to prevent premature shut-off.
- Lux Threshold & Adjustability: Many modern switches feature adjustable sensitivity. This lets you fine-tune the darkness level (lux threshold) at which the lights turn on. If lights turn on too early on cloudy afternoons or too late in the evening, adjust the sensitivity accordingly. Look for models with a clearly marked adjustment dial or screw.
- Dwell Time (If Applicable): Some photocell switches designed for closets or situations with temporary darkness (like a cloud passing overhead) include a timer. This ensures the light stays on for a set period (e.g., 1-5 minutes) after the sensor initially triggers due to darkness, preventing flickering on/off cycles if the ambient light level fluctuates rapidly.
- Load Compatibility: Ensure the switch is rated for the type (incandescent, halogen, LED, CFL) and total wattage of the lighting load you intend to control. Pay special attention to compatibility with low-wattage LED bulbs, as some older or cheaper photocell switches might not work reliably with them. Look for “LED compatible” specifications.
- Wiring & Installation: Installation is generally similar to replacing a standard light switch. However, dealing with household electrical wiring requires caution. Always turn off power at the circuit breaker before beginning work. If you are not comfortable or familiar with basic electrical work, hiring a licensed electrician is strongly recommended and the safest choice.
Installation Essentials (For Reference - Proceed with Caution!)
- Power Down: Identify the correct circuit breaker and swing it OFF. Double-check with a non-contact voltage tester that power is truly off at the switch box.
- Remove Old Switch: Carefully unscrew and remove the existing switch plate and switch body from the wall box, noting the existing wire connections (line/hot, load, neutral - if present, ground).
- Connect New Switch: Connect the wires from the wall box to the corresponding terminals on the new photocell switch per the manufacturer’s instructions (Line/Hot, Load, Neutral, Ground). Secure connections tightly.
- Mount & Configure: Carefully push the wires back into the box and secure the new switch. Attach the faceplate. If your model has adjustable sensitivity or dwell time, configure it before fully restoring power (instructions vary).
- Restore Power & Test: Turn the circuit breaker back ON. Test the switch by covering the sensor (simulate darkness) – the light should turn on. Uncover the sensor (simulate daylight) – the light should turn off. Fine-tune sensitivity as needed.
Choosing the Right Switch for Your Home
The market offers a growing range of options:
*

