check

check

check

check
check

check
check
check
check
check
Imagine triggering actions without a single touch. Picture lights illuminating your path as you approach, robots halting inches before a collision, or machines activating only when an object is present. This isn’t science fiction; it’s the everyday magic unlocked by connecting a simple proximity sensor to Arduino. This powerful combination forms the backbone of countless intelligent devices, bringing the world of non-contact sensing within easy reach of makers, hobbyists, and engineers alike. Grasping how to bridge this proximity sensor to Arduino opens a universe of possibilities for responsive, efficient, and safe interactive projects.
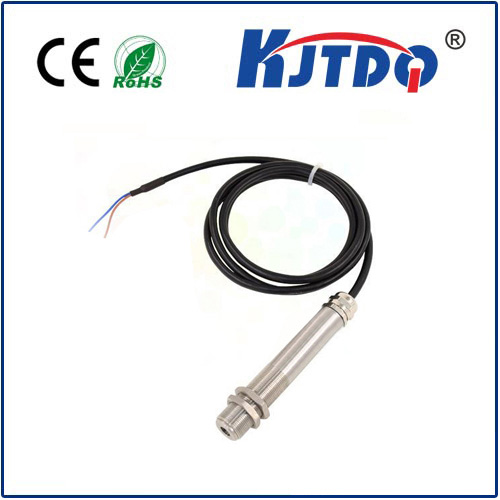
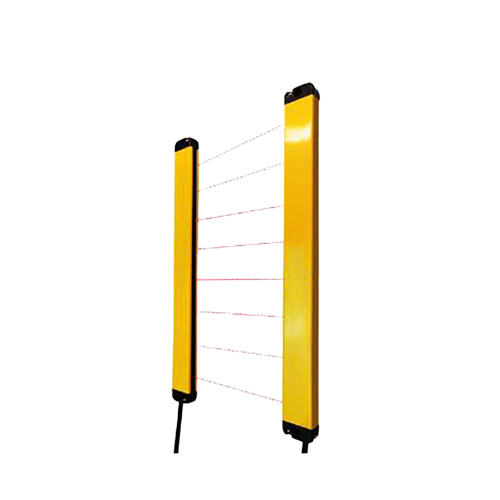
At its core, a proximity sensor detects the presence or absence of an object within a specific range without physical contact. Think of it as an electronic version of your sense of nearness. Several technologies achieve this, each with strengths:
Regardless of type, their output is generally straightforward: a digital signal (HIGH/LOW indicating presence/absence beyond a set threshold) or an analog signal (a voltage proportional to the distance or presence strength).
The Arduino platform shines as the ideal intermediary for interfacing proximity sensors for several compelling reasons:
NewPing for HC-SR04), and countless tutorials and forums offer support. This extensive support network significantly lowers the barrier to entry.The specific wiring depends heavily on the sensor type and its output signal (digital or analog). However, the fundamental principles remain consistent:
5V pin (most common) or 3.3V pin (check sensor datasheet!).GND pin.digitalRead() in your code.analogRead() in your code.Common Hookup Example - Infrared (IR) Analog Sensor (e.g., GP2Y0A21):
Common Hookup Example - Ultrasonic Sensor (e.g., HC-SR04):
The code reads the sensor’s signal and interprets it. Here’s the essence:
For a Digital Sensor:
const int sensorPin = 2;  // Digital pin connected to sensor output
void setup() {
pinMode(sensorPin, INPUT);  // Set pin as input
Serial.begin(9600);         // Initialize serial communication
}
void loop() {
int sensorState = digitalRead(sensorPin); // Read the sensor pin
if (sensorState == HIGH) {
Serial.println("Object Detected!"); // Object is close
// Add actions here, e.g., turn on an LED, activate a relay, etc.
} else {
Serial.println("No Object"); // Object not detected, or outside range
// Add corresponding actions here
}
delay(100); // Short delay to stabilize readings
}
For an Analog Sensor (like IR Distance):
const int sensorPin = A0;  // Analog pin connected to sensor output
void setup() {
Serial.begin(9600); // Initialize serial communication
}
void loop() {
int sensorValue = analogRead(sensorPin); // Read the analog value (0-1023)
// Optional: Convert reading to voltage (if needed): float voltage = sensorValue * (5.0 / 1023.0);
Serial.print("Sensor Value: ");
Serial.println(sensorValue); // Print raw value
// Interpret the value based on calibration/characteristics
if (sensorValue > 500) { // Example threshold - calibrate for your setup!
Serial.println("Object Very Close");
} else if (sensorValue > 300) {
Serial.println("Object Within Mid-Range");
} else {
Serial.println("Object Far or Absent");
}
delay(100); // Short delay
}
For an Ultrasonic Sensor (using NewPing library):
”`arduino #include
#define TRIGGER_PIN 9 #define ECHO_PIN 10 #define MAX_DISTANCE 200 // Maximum distance in cm
NewPing sonar(TRIGGER_PIN, ECHO_PIN, MAX_DISTANCE); // Create sensor object
void setup() { Serial.begin(9600); }
void loop() { delay(50); // Wait between pings (29ms minimum for HC-SR04) unsigned int distance