check

check

check

check
check
check
check
check

check

check
A limit switch sensor connected to an Arduino board opens up a world of possibilities for DIY electronics, robotics, and automation projects. These simple yet effective components act as digital sentinels, providing a reliable way for your Arduino to detect physical contact or the presence/absence of an object. This guide will walk you through the fundamentals, from understanding the hardware to writing the code that brings your project to life.
At its core, a limit switch is a mechanical switch housed in a protective casing, often with a lever or plunger actuator. When an object presses this actuator, the internal contacts change state—typically from "open" to "closed" or vice-versa. This physical action translates into a clear digital signal that the Arduino's digital input pins can easily read. Common types include lever-arm switches, roller plunger switches, and miniature snap-action switches, each suited for different mechanical interactions.
The wiring setup is straightforward. A standard two-pin limit switch has a common (C) terminal and a normally open (NO) terminal. For a basic input circuit, you connect the common pin to the Arduino's ground (GND). The NO pin is connected to a chosen digital input pin (e.g., Pin 2). To ensure a stable reading when the switch is open, a pull-up resistor is essential. You can use the Arduino's internal pull-up resistor by setting the pin mode toINPUT_PULLUP in your code, which simplifies wiring by eliminating the need for an external resistor. When the switch is not pressed, the internal pull-up resistor holds the input pin at a HIGH (5V) state. When the switch is pressed and closes the circuit, it connects the input pin directly to ground, pulling the signal to a LOW (0V) state.
Here is a basic example of Arduino code to read the switch state:
``cpp
const int switchPin = 2; // Digital pin connected to the switch
void setup() {
Serial.begin(9600);
pinMode(switchPin, INPUT_PULLUP); // Enable internal pull-up resistor
}
void loop() {
int switchState = digitalRead(switchPin);
if (switchState == LOW) {
// Switch is PRESSED (circuit closed to GND)
Serial.println("Limit Switch: PRESSED");
// Add your action here, like turning on an LED or stopping a motor
} else {
// Switch is NOT PRESSED (pin is HIGH via pull-up)
Serial.println("Limit Switch: NOT PRESSED");
}
delay(100); // Small delay for stability
}
``
This simple sketch demonstrates the core logic. The real power comes from integrating this detection into larger systems. For instance, in a 3D printer or CNC machine, limit switches define the "home" position, preventing the moving parts from crashing beyond their mechanical limits. In a simple robot, a limit switch on a bumper can detect a collision and trigger a reverse-and-turn maneuver. You can also use them in interactive installations, safety cut-offs, or counting objects on a conveyor.
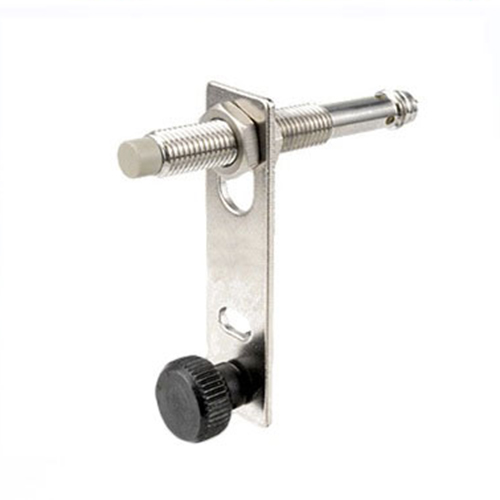
When deploying your project, consider the switch's mechanical durability and electrical rating. For high-vibration environments, ensure the switch is securely mounted. Debouncing the switch signal in software might be necessary for some mechanical switches to prevent multiple rapid state changes from a single press. This can be done with a simple delay or more advanced libraries.
Troubleshooting common issues often involves checking connections with a multimeter for continuity. If the Arduino reads a constant LOW, there might be a short circuit to ground. A constant HIGH could indicate a broken connection or a faulty switch. Always verify your wiring against the schematic.
By mastering the connection between a limit switch sensor and Arduino, you gain a fundamental building block for creating responsive, physical-world interfaces. Start with a simple LED control experiment, then scale up to control motors, servos, or relay modules. The combination of tactile feedback and programmable logic is what makes microcontroller projects so engaging and powerful. Explore different switch types and challenge yourself to incorporate this reliable sensor into your next automated design.