check

check

check

check
check

check
check
check
check
check
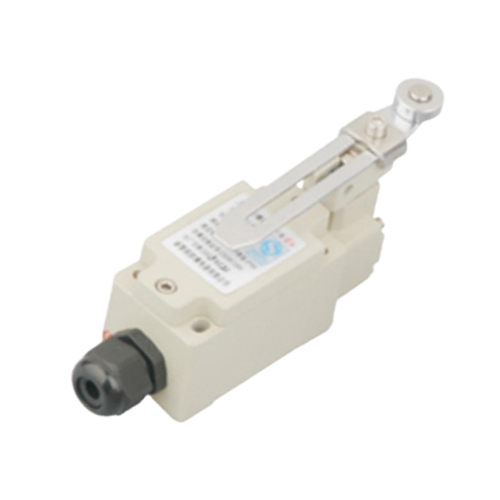
Ever wanted your Arduino projects to see the world around them without physical contact? To know when an object approaches, a door closes, or a machine part is in position? That’s precisely the power unlocked by proximity sensor interfacing with Arduino. These remarkable devices allow microcontrollers to perceive the presence, absence, or distance of nearby objects silently and efficiently. Whether you’re building a touchless switch, an automatic faucet, a robot avoiding obstacles, or a sophisticated industrial monitor, mastering proximity sensor integration is an essential skill. This guide dives deep into the practical steps, considerations, and code examples to seamlessly connect various proximity sensors to your Arduino board.
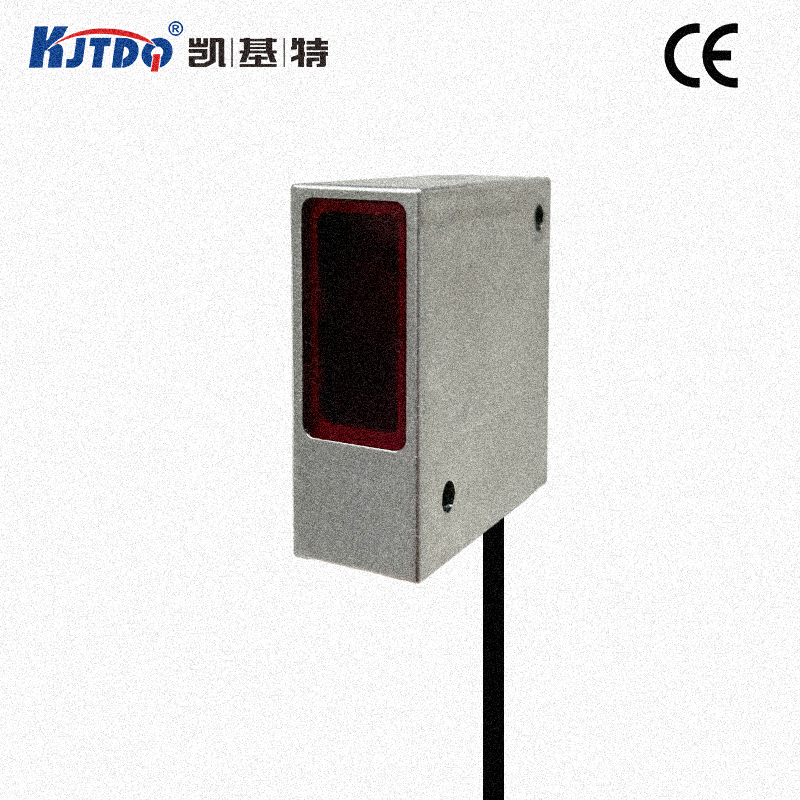
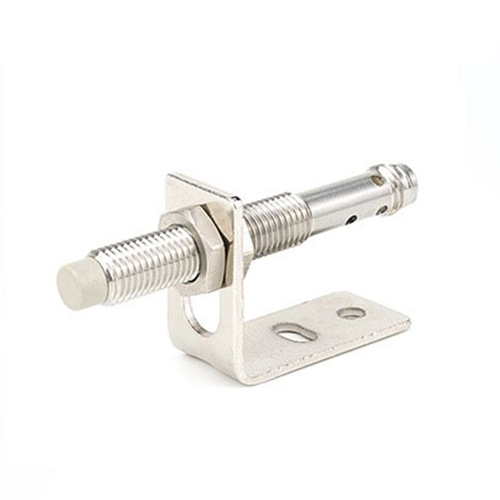
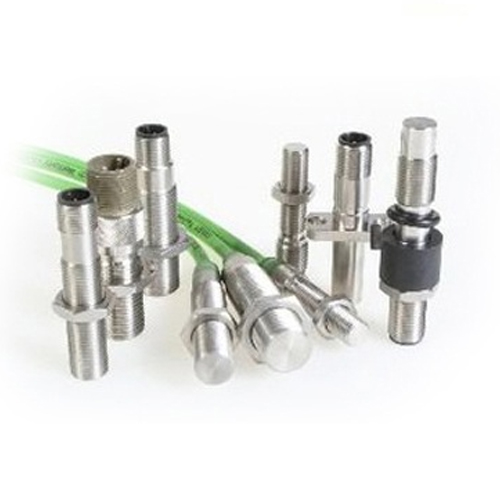
Understanding the Proximity Sensor Family
Before connecting wires, it’s vital to grasp that “proximity sensor” is an umbrella term. Different technologies serve distinct purposes:
Choosing the right sensor hinges critically on your application: What material needs detection? What detection range is required? What environmental factors (dust, light, moisture) are present? What output signal (digital ON/OFF or analog varying voltage) suits your needs best?
Interfacing Basics: Wiring it Up
Most common proximity sensors interfacing with Arduino follow similar wiring principles. Here’s a breakdown, focusing on digital output sensors (which provide a simple HIGH/LOW signal) and analog output types:
Crucially: Always consult the sensor’s datasheet. It details the exact wiring, voltage requirements (using 5V on a 3.3V sensor can destroy it!), output signal type, and logic levels.
Bringing it to Life: Arduino Programming
The Arduino code reads the sensor’s signal. The approach differs slightly between digital and analog sensors.
const int sensorPin = 2; // Digital pin connected to sensor OUT
void setup() {
Serial.begin(9600); // Start serial communication
pinMode(sensorPin, INPUT); // Set pin as input
}
void loop() {
int sensorState = digitalRead(sensorPin); // Read the state
if (sensorState == HIGH) { // Or LOW, depends on sensor logic!
Serial.println("Object Detected!");
// Take action: turn on LED, activate relay, etc.
} else {
Serial.println("No Object");
// Turn off related outputs
}
delay(100); // Small delay for readability
}
Key Points:
if condition depends on this!delay() based on how quickly you need to detect changes.const int sensorPin = A0; // Analog pin connected to sensor OUT
void setup() {
Serial.begin(9600);
// Analog pins are set as INPUT by default
}
void loop() {
int sensorValue = analogRead(sensorPin); // Read analog value (0-1023)
Serial.print("Raw Value: ");
Serial.println(sensorValue);
// Often requires conversion to meaningful units (e.g., cm, inches, gauss)
// float distance_cm = map(sensorValue, minRaw, maxRaw, minDistance, maxDistance); // Basic linear scaling
// float distance_cm = someCalibrationFormula(sensorValue); // More complex mapping
// Use distance_cm for thresholds or actions
delay(50);
}
Key Points:
analogRead() returns a value between 0 (0V) and 1023 (~5V).map() for simple linear conversions or create a custom function. Refer to the sensor datasheet for conversion formulas if available.Key Considerations for Reliable Operation
Successfully interfacing proximity sensors with Arduino goes beyond just wiring and basic code. Keep these factors in mind: