magnetic proximity sensor arduino
- time:2025-07-14 14:34:18
- Click:0
Unlock Hidden Detection: Magnetic Proximity Sensors & Arduino Demystified
Ever needed to know if a door is truly closed without looking, detect the silent passing of machinery, or build a security system triggered by an unseen force? Often, the most reliable solutions are invisible. That’s where the elegant synergy of magnetic proximity sensors and the versatile Arduino microcontroller platform shines. Forget complicated optics or bulky mechanical switches; harnessing the power of magnets provides a robust, contactless, and remarkably simple way to detect presence or proximity in countless applications. This guide dives deep into making these powerful sensors work for your next Arduino project.
Beyond the Visible: The Magic of Magnetic Sensing
Unlike traditional sensors needing physical touch or visible light, magnetic proximity sensors operate by detecting changes in a magnetic field. They remain unaffected by dust, moisture (depending on sealing), smoke, or ambient light, making them exceptionally reliable in harsh environments. The core principle is simple: move a magnet near the sensor, and it triggers a response. Move it away, and it resets. The Arduino, acting as the brain, reads this state change via the sensor’s output, allowing you to program actions like turning on lights, sounding alarms, counting objects, or logging data. This combination unlocks a world of possibilities for automation, security, and interactive projects.
Key Players: Hall Effect vs. Reed Switch
Two primary types dominate the magnetic proximity sensor landscape, each with unique strengths perfect for different Arduino applications:
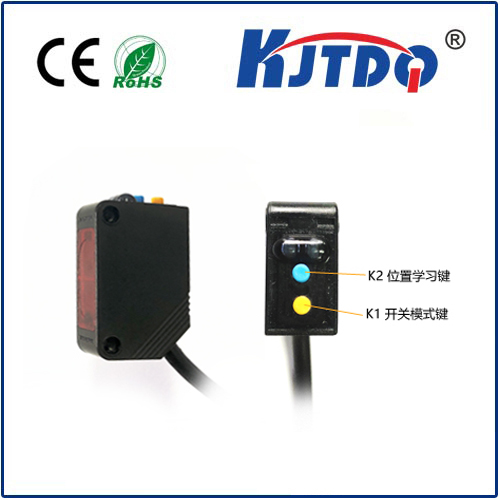
- Hall Effect Sensors: These semiconductor devices detect magnetic fields by measuring the Hall voltage generated across a conductor when exposed to a magnetic field perpendicular to current flow. Modern integrated Hall sensors include amplification and conditioning circuitry, providing a clean, easy-to-read digital or analog signal for your Arduino.
- Digital Output: Provides a simple HIGH/LOW signal based on a preset magnetic field threshold (e.g., OH49E, AH3503). Ideal for basic proximity detection (door open/close, object presence). Easy to use with Arduino’s digital pins.
- Analog Output: Provides a voltage proportional to the magnetic field strength (e.g., A1302, SS49E). Allows you to detect not just presence but also distance (though accuracy depends on magnet strength and setup) or even the North/South pole. Requires an Arduino analog input pin.
- Pros: Solid-state (no moving parts), high switching speed, long operational life, precise (especially analog types), available in surface-mount and through-hole packages.
- Cons: Generally require stronger magnets than reed switches for reliable detection at distance, typically more expensive per unit.
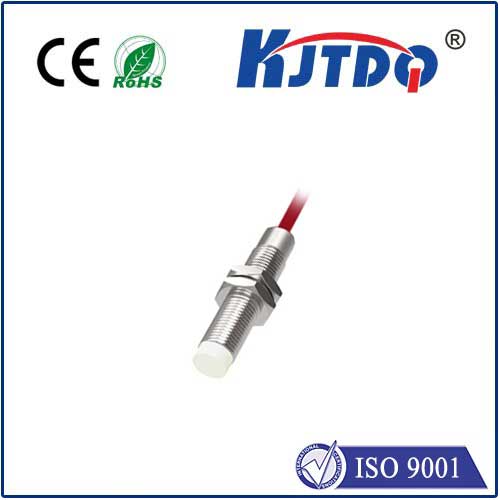
- Reed Switches: These are electromechanical devices consisting of two thin, ferromagnetic metal reeds enclosed in a sealed glass tube filled with inert gas. When a strong enough magnetic field is applied, the reeds magnetize, attract each other, and physically close an electrical contact.
- Output: Simple switch closure (Normally Open or Normally Closed configurations). Acts just like a mechanical button or limit switch, but triggered magnetically.
- Pros: Very low cost, extremely simple to interface (just connect like a button!), can handle higher voltages/currents directly than most Hall sensors (useful for controlling relays directly without an Arduino driver).
- Cons: Mechanical parts mean limited switching lifetime (millions of operations, but finite), slower switching speed than Hall sensors, can be susceptible to physical shock/vibration, requires relatively strong magnets close by.
Here’s a comparison overview:
| Sensor Type |
Output Type |
Pros |
Cons |
Ideal Arduino Application |
| Hall Effect |
Digital or Analog |
Solid-state, long life, fast switching, precise detection |
Requires stronger magnets, more expensive |
Position sensing, speed detection, distance measurement, RPM counting |
| Reed Switch |
Simple Switch |
Very low cost, simple interface, handles higher currents |
Limited lifespan, slower switching, shock sensitive |
Door/window sensors, basic presence detection where ruggedness less critical |
Bringing it to Life: Connecting to Your Arduino
Interfacing both sensor types with an Arduino is straightforward:
- Common Setup:
- Connect the sensor’s VCC pin to Arduino’s 5V (or 3.3V if specified by sensor datasheet).
- Connect the sensor’s GND pin to Arduino’s GND.
- Digital Output Hall Sensor / Reed Switch:
- Connect the sensor’s OUT/SIG (Hall) or one leg of the reed switch (the other reed leg connects to GND) to an Arduino digital input pin (e.g., D2).
- Enable the Arduino’s internal pull-up resistor on that pin in your sketch (
pinMode(pin, INPUT_PULLUP)) for stable reading, especially for reed switches. The sensor output essentially pulls the pin LOW when activated (magnet present for Reed or digital Hall set to active-low).
- Analog Output Hall Sensor:
- Connect the sensor’s OUT/VOUT pin to an Arduino analog input pin (e.g., A0).
- Read the varying voltage using
analogRead(). Calibration is key! Map the sensor’s output voltage range (found in its datasheet) to the actual distance or field strength you need.
Crucial Tips for Success:
- Magnet Matters: The type (Neodymium is strongest), size, shape (diametric vs. axial magnetization), strength (measured in Gauss or Tesla), and orientation relative to the sensor significantly impact detection range and reliability. Always test with your specific magnet.
- Power Smoothly: Decouple your sensor’s VCC line with a small capacitor (e.g., 0.1uF ceramic) placed close to the sensor to reduce electrical noise, ensuring stable readings for your Arduino.
- Watch the Gap: Detection distance is limited. Hall sensors typically work within a few millimeters to centimeters. Reed switches usually need the magnet even closer. Hysteresis (the difference between the turn-on and turn-off point) is inherent, especially in digital sensors.
- Avoid EM Noise: Keep sensors away from strong sources of electromagnetic interference like motors, transformers, or high-current wires, as these can trigger false readings. Shielding may sometimes be necessary.
- Mind the Poles: Hall effect sensors can be sensitive to the polarity of the magnet (North vs South pole). Check your sensor’s datasheet. Some are omnipolar (triggered by either pole), unipolar (triggered by one specific pole), or bipolar (output varies based on pole). Reed switches are generally omnipolar.
Project Inspiration: Where to Use Them on Arduino
The applications are vast! Here are a few compelling ideas:
- Smart Home Security: Place a digital Hall sensor or reed switch on doors/windows. When the magnet (on the moving part) moves away, the Arduino triggers an alarm, sends a notification, or logs an entry.
- RPM / Speed Monitoring: Attach a magnet to a rotating shaft or wheel. Position a digital Hall sensor nearby. The Arduino counts the pulses per time period to calculate RPM or speed. Perfect for bicycles, fans, or simple motor monitoring.
- Non-Contact Limit Switches: Use a Hall sensor or reed switch to detect when a linear actuator, drawer, or sliding panel has reached its end position without physical contact, improving durability.
- Object Presence Detection: Detect ferrous objects (like tools passing on a conveyor) using a hall effect sensor or non-ferrous objects by attaching a small magnet to them. Pair with **