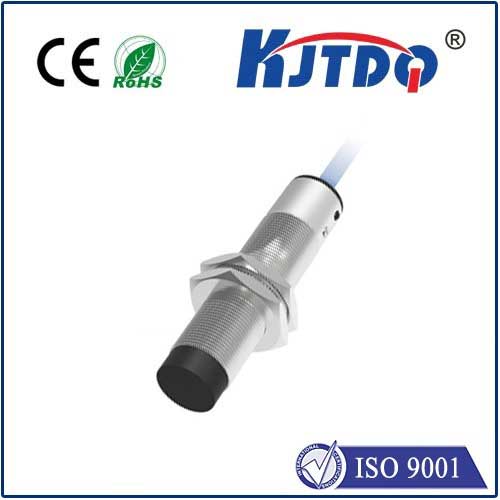
e18 d80nk infrared proximity sensor
- time:2025-07-10 03:30:42
- Click:0
Unlock Hidden Applications: Your Guide to the Remarkable E18-D80NK IR Sensor
Finding a proximity sensor that balances reliability, simplicity, and cost-effectiveness can be a real challenge, especially in dynamic environments filled with dust, varying light, or vibrations. Many solutions either fail under pressure or demand excessive setup complexity. This is where the unassuming E18-D80NK infrared proximity sensor truly shines. Far more than just a component, this little module consistently solves detection problems across countless robotic and industrial applications. Its enduring popularity isn’t accidental; it’s a testament to its robust design meeting a critical need.
Understanding Proximity Sensors: The Basics
Proximity sensors detect the presence or absence of an object within a defined range without physical contact. This non-contact detection is vital in automation, robotics, safety systems, and countless DIY projects. Common types include:
- Photoelectric Sensors: Use light (often infrared) to detect objects. This includes reflective, through-beam, and diffuse types like the E18-D80NK.
- Inductive Sensors: Detect metallic objects using electromagnetic fields.
- Capacitive Sensors: Detect both metallic and non-metallic objects by measuring changes in capacitance.
- Ultrasonic Sensors: Use sound waves to measure distance or presence.
The E18-D80NK falls squarely into the infrared diffuse photoelectric sensor category. Its core strength lies in its modulated infrared light and clever receiver design.

Demystifying the E18-D80NK: How It Works
At its heart, the E18-D80NK infrared sensor operates on a beautifully simple principle:
- Infrared Emission: An internal infrared LED constantly emits pulses of modulated infrared light. This modulation (rapidly switching the IR beam on and off at a specific frequency) is crucial. It allows the sensor to distinguish its own signal from ambient infrared light sources (like sunlight or incandescent bulbs).
- Reflection Detection: The emitted IR beam travels outward. When an object enters its detection range, the beam reflects off the object’s surface.
- Signal Reception: A dedicated phototransistor receiver on the sensor picks up this reflected, modulated IR light.
- Output Trigger: The sensor’s internal circuitry analyzes the received signal. If the modulated IR reflection is strong enough (indicating an object is within range), the sensor triggers its output signal.
Key Features and Specifications
Understanding the specs clarifies where and why you’d choose the E18-D80NK proximity sensor:
- Detection Principle: Diffuse Reflective (Object reflects emitted light back to receiver).
- Sensing Distance: Adjustable range typically 3 cm to 80 cm (hence “D80” in the name). Fine-tuned via an onboard potentiometer.
- Output Type: Digital (NPN Open Collector). This is critical! It acts as a switch. When no object is detected, the output signal pin is internally “floating” (high impedance). When an object is detected, it connects the signal pin to the GND pin. Requires a pull-up resistor (often internal to microcontrollers like Arduino) to read a reliable HIGH/LOW signal.
- Operating Voltage: 5V DC is standard and recommended.
- Response Time: Very fast (milliseconds), suitable for dynamic applications.
- Beam Type: Focused infrared beam.
- Environmental Resistance: Offers decent resistance to ambient light interference and moderate dust/dirt due to its modulation technique and housing. Not inherently waterproof.
- Connection: Standard 3-pin interface (Brown = VCC (5V), Blue = GND, Black = Signal Output). Double-check wiring! Incorrect voltage can damage it.
Why Choose the E18-D80NK? Key Advantages
Its popularity stems from distinct advantages:
- Non-Contact Operation: Eliminates wear and tear on both the sensor and detected objects.
- Immunity to Ambient Light: The modulated infrared light is paramount. Unlike simple IR detectors, the E18-D80NK sensor effectively ignores constant or slowly changing ambient IR, drastically reducing false triggers.
- Adjustable Sensing Range: The built-in potentiometer allows precise tuning for specific application needs within its 3cm-80cm window.
- Simple Integration: The digital NPN output is straightforward to interface with microcontrollers (Arduino, Raspberry Pi, PIC) or PLCs, requiring minimal external components (often just a pull-up resistor).
- Cost-Effective: Delivers reliable performance at a very accessible price point.
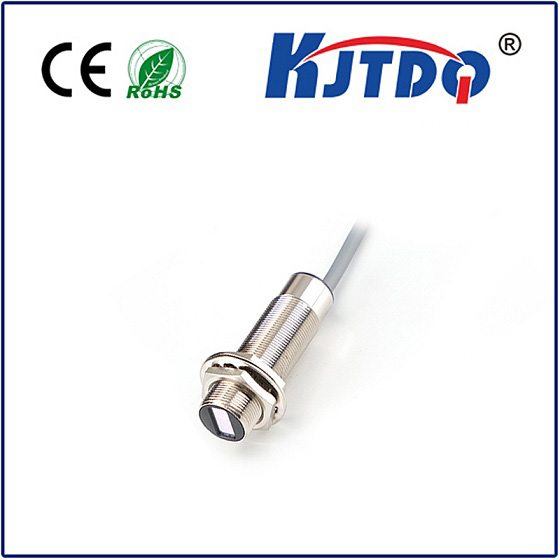
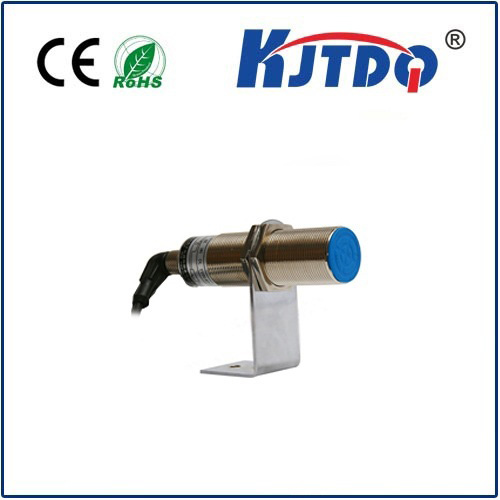
- Compact & Robust: Its cylindrical barrel form factor makes it easy to mount, and the housing provides basic protection.
Putting It To Work: Common Applications
The E18-D80NK infrared proximity sensor finds a home in diverse scenarios:
- Robotics: Collision avoidance (bumper switches), line follower robots (detecting drop-offs or start/stop lines), object detection for grippers.
- Industrial Automation: Detecting objects on conveyors, verifying part presence in assembly jigs, counting items passing a point (if speed allows), machine guarding (entry detection).
- DIY Projects: Interactive art installations (triggering actions as people approach), automated dispensers (detecting a cup or hand), smart home prototypes (drawer/cabinet open detection), security system triggers.
- Basic Level Sensing: Detecting material presence in bins or hoppers (where contact isn’t desired).
Practical Tips for Using Your E18-D80NK Effectively
Maximize performance and avoid frustration:
- Calibrate Carefully: The adjustable detection range is your friend. Use a small screwdriver to turn the onboard potentiometer while testing with your target object at the desired distance. Turn clockwise (usually) to increase sensitivity/range.
- Mind the Wiring: Brown to 5V, Blue to GND, Black to Signal Input (with pull-up!). Applying more than 5V is a common cause of failure.
- Understand NPN Output: Remember, the signal pin goes LOW (connected to GND) when an object is detected. Your code/controller needs to read this state change correctly. A pull-up resistor (e.g., 10K Ohm to VCC) on the signal line is essential if your input pin doesn’t have an internal one enabled.
- Consider the Target: Performance varies with surface color, material, and reflectivity. Dark, matte, or irregular surfaces reflect less IR light and reduce the effective sensing distance. Light-colored, smooth surfaces work best. Test with your actual target!
- Environmental Factors: While resistant, very strong direct sunlight hitting the receiver can potentially overwhelm the modulation. Mounting considerations can mitigate this. Dust or dirt buildup on the lens can attenuate the signal – periodic cleaning may be needed in harsh environments.
- Occlusion: The object must be large enough to reflect sufficient light back to the sensor within its detection cone. Tiny objects might not trigger reliably


