check

check

check

check
How to Use a Laser Proximity Sensor with Arduino for Accurate Distance Measurement In the world of electronics and automation, precision is key. Whether you’re building a robot, designing a smart device, or creating an interactive art installation, measuring distance accurately is often a critical requirement. This is where a laser proximity sensor comes into play. When paired with an Arduino, this powerful combination opens up a world of possibilities for projects that demand high accuracy and reliability. In this article, we’ll explore how to integrate a laser proximity sensor with Arduino, the benefits of using this technology, and some practical applications that showcase its potential.
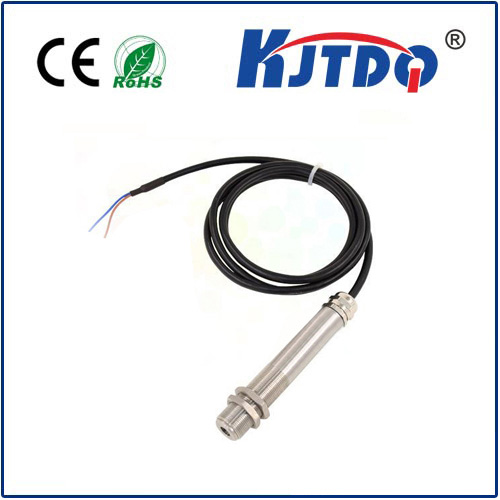
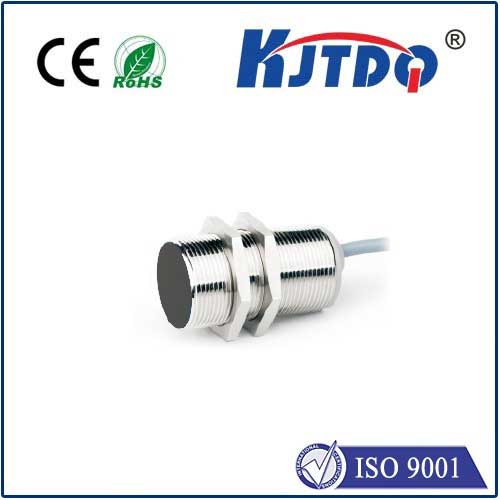
A laser proximity sensor is a device that uses a laser beam to detect the presence of an object and measure its distance. Unlike traditional ultrasonic or infrared sensors, laser sensors offer higher precision and can operate over longer distances. They work by emitting a laser beam and measuring the time it takes for the beam to reflect off an object and return to the sensor. This data is then used to calculate the distance. The key advantages of laser proximity sensors include:

Arduino is a versatile and beginner-friendly microcontroller platform that simplifies the process of interfacing with sensors and other components. By connecting a laser proximity sensor to Arduino, you can easily process the sensor’s data and use it to control other devices, display information, or trigger actions based on specific conditions. Arduino’s open-source nature and extensive library support make it an excellent choice for experimenting with laser sensors. Whether you’re a hobbyist or a professional, Arduino provides the flexibility to bring your ideas to life.
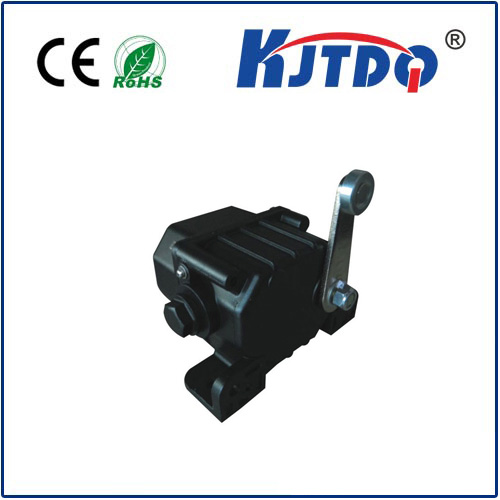
Connecting a laser proximity sensor to Arduino is a straightforward process. Here’s a step-by-step guide:
Adafruit_VL53L0X library.#include
#include
Adafruit_VL53L0X lox = Adafruit_VL53L0X();
void setup() {
Serial.begin(9600);
if (!lox.begin()) {
Serial.println("Failed to boot VL53L0X");
while(1);
}
}
void loop() {
VL53L0X_RangingMeasurementData_t measure;
lox.rangingTest(&measure, false);
if (measure.RangeStatus != 4) {
Serial.print("Distance: ");
Serial.print(measure.RangeMilliMeter);
Serial.println(" mm");
} else {
Serial.println("Out of range");
}
delay(100);
}
The combination of a laser proximity sensor and Arduino can be used in a wide range of applications, including:
To get the most out of your laser proximity sensor and Arduino setup, consider the following tips: