check

check

check

check
check

check
check
check
check
check
Imagine a robot navigating its environment flawlessly, a security system detecting an intruder the instant they cross an invisible line, or a smart factory assembly line precisely positioning components. These feats often rely on a powerful combination: the versatile ESP32 microcontroller and the pinpoint accuracy of a laser sensor. This potent duo unlocks a world of precise, real-time distance measurement and object detection capabilities, amplified by seamless connectivity. Whether you’re a hobbyist, engineer, or innovator, understanding how to integrate laser sensors like Time-of-Flight (ToF) modules with the ESP32 is key to building responsive, intelligent systems.
The ESP32: More Than Just a Microcontroller
At its core, the ESP32 isn’t your average Arduino. It’s a feature-rich powerhouse that makes it uniquely suited for demanding sensor applications:
Unveiling Laser Sensor Technology

Laser sensors used with microcontrollers like the ESP32 primarily operate on Time-of-Flight (ToF) principles. Here’s a simplified breakdown:
Distance = (Speed of Light * Time of Flight) / 2.Key Advantages of Laser ToF Sensors:
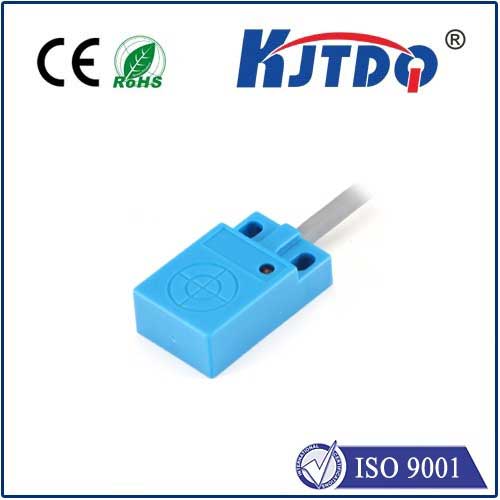
Popular and easily interfaced ToF laser sensor modules include the VL53L0X, VL53L1X, VL6180X, and TFMini series. These are commonly used with the ESP32.
Bridging the Gap: Integrating Laser Sensors with ESP32
The magic happens when you connect the laser sensor to the ESP32. Thankfully, the process is usually straightforward, especially with common I2C-based sensors:
VCC (3.3V or 5V - check datasheet!) to the ESP32’s 3.3V pin (usually preferred) or 5V pin if the sensor explicitly requires it.GND to GND.SDA (Serial Data) to an ESP32 GPIO pin configured for I2C SDA (e.g., GPIO 21).SCL (Serial Clock) to an ESP32 GPIO pin configured for I2C SCL (e.g., GPIO 22).XSHUT) or interrupt (INT) pins for advanced control, which can be connected to other ESP32 GPIOs.| Common Connection Summary (Example: VL53L0X & ESP32 Dev Module) | |
|---|---|
| Laser Sensor Pin | ESP32 Pin |
| VCC | 3V3 |
| GND | GND |
| SDA | GPIO 21 |
| SCL | GPIO 22 |
| (Optional) XSHUT | GPIO 16 |
Adafruit_VL53L0X, VL53L1X or TFMPI2C handle the complex low-level I2C communication and provide simple functions (e.g., getDistance(), startContinuous()) to read data.Wire.begin()), initializes the sensor library, and then regularly reads distance values within the loop(). The ESP32 can then process this data, log it, display it, or transmit it over WiFi/BLE.Example Code Snippet (VL53L0X Arduino IDE - Basic Reading):
#include
#include
Adafruit_VL53L0X lox = Adafruit_VL53L0X();
void setup() {
Serial.begin(115200);
Wire.begin(21, 22); // Initialize I2C on SDA (GPIO21), SCL (GPIO22)
if (!lox.begin()) {
Serial.println(F("Failed to boot VL53L0X"));
while(1);
}
}
void loop() {
VL53L0X_RangingMeasurementData_t measure;
lox.rangingTest(&measure, false); // Perform measurement
if (measure.RangeStatus != 4) { // Check if measurement is valid
Serial.print("Distance (mm): ");
Serial.println(measure.RangeMilliMeter);
} else {
Serial.println("Out of range");
}
delay(100);
}
Overcoming Integration Challenges
While powerful, integrating ESP32 laser sensors isn’t without considerations: