cnc 3018 pro limit switch
- time:2025-08-04 12:13:11
- Click:0
CNC 3018 Pro Limit Switch: Your Essential Safety & Accuracy Upgrade
Your CNC 3018 Pro is a fantastic entry point into the world of computer-controlled machining. It lets you carve intricate designs into wood, engrave PCBs, or mill soft plastics with surprising precision. But like any powerful tool, it operates within physical boundaries. Push it too far, and you risk damaging the machine, your workpiece, or even the spindle itself. This is where the often-overlooked CNC 3018 Pro limit switch becomes an absolute game-changer – a small component delivering outsized benefits in protection and performance.
Understanding the Crucial Role of Limit Switches
At their core, limit switches are electromechanical devices that detect the presence or absence of an object (in this case, your CNC’s moving gantry or spindle) within a specific physical boundary. Think of them as vigilant sentinels stationed at the extents of your machine’s travel (X, Y, and Z axes). When the moving parts make contact with the switch actuator, it sends an immediate electrical signal to the machine’s controller.
This signal triggers a critical action: it tells the controller to instantly halt all motion in the direction that triggered the switch. This fundamental function serves two primary, indispensable purposes:

- Machine Protection (Hard Limits): This is the primary safety function. If a program error, software glitch, or faulty G-code instructs the machine to move beyond its physical capabilities (like driving the spindle straight into the frame), the limit switch acts as the last line of defense. It prevents catastrophic collisions that can bend lead screws, strip belts, damage motors, or crack spindles and mounts. Investing in limit switches is far cheaper than replacing major components.
- Homing & Reference Positioning (Soft Limits/Safe Homing): Limit switches are essential for implementing homing sequences. When you command the machine to “Home,” it deliberately moves each axis towards its limit switch. Upon contact, the machine knows precisely where that axis’s absolute zero (or home) position is located. This allows for highly consistent workpiece zeroing, reducing setup errors and ensuring that every job starts from a perfectly known position. Some firmware (like GRBL) also allows setting soft limits based on the home position, preventing travel beyond the boundaries of your specific workpiece, even before hitting the physical hard limits.
Why Your CNC 3018 Pro Needs Them (Beyond the Basics)
While the 3018 Pro is sold primarily as a hobbyist machine, its capabilities are significant. Many users quickly outgrow simple projects. Adding limit switches isn’t just an optional upgrade; it’s a fundamental step towards professional-grade reliability and safety:
- Prevent Costly Crashes: A single high-speed collision can destroy your spindle motor, ruin your workpiece, or permanently damage the machine frame. Limit switches are a cheap insurance policy.
- Enhance Repeatability: Consistent homing means consistent results. If you pause a job or need to restart, homing back to the exact same position is crucial for seamless continuation.
- Enable Complex Jobs & Automation: For multi-stage projects, unattended operation, or using features like automatic tool changes (on upgraded models), reliable endstops are non-negotiable for safety and precision. They provide the spatial awareness the machine critically lacks without them.
- Reduce User Error: Accidental jogging beyond boundaries or misjudging travel during setup becomes far less risky.
Types of Limit Switches Compatible with the CNC 3018 Pro
Several switch types are commonly used and compatible with the CNC 3018 Pro’s typical GRBL-based controllers:
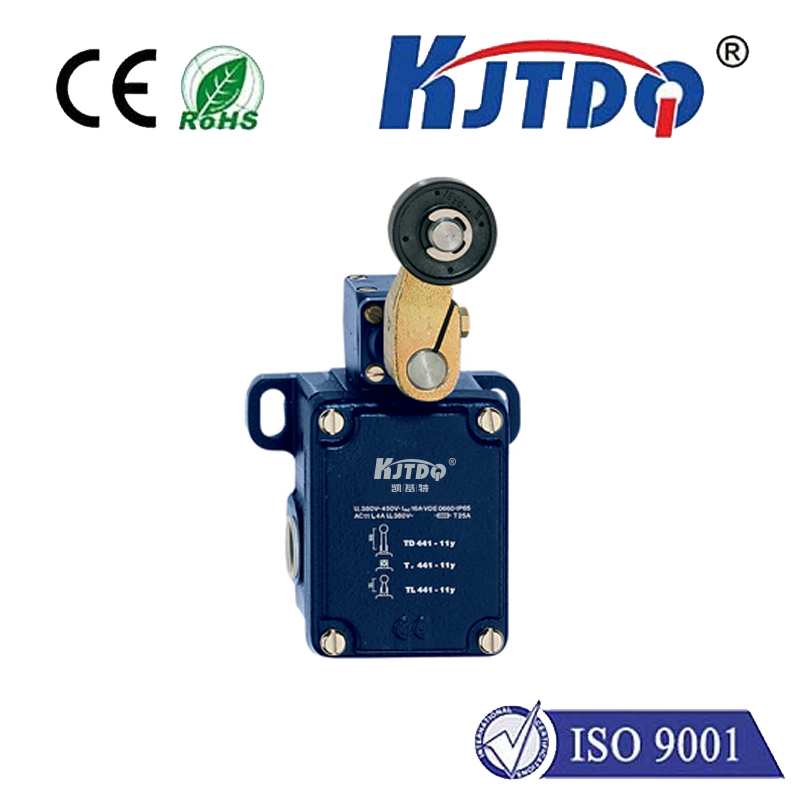
- Mechanical Micro Switches: The most common and affordable option. They feature a physical lever or roller that gets depressed. Pros: Cheap, simple to understand and wire. Cons: Mechanical components can wear over time; actuation requires direct physical contact (potential for slight overtravel); less suitable for very high-speed detection.
- Optical Switches (Opto-Interrupters): These use an infrared beam between a transmitter and receiver. The beam is interrupted by a physical flag attached to the moving axis. Pros: Contactless operation (no physical wear, no moving parts to break), very fast response time, highly repeatable. Cons: Generally more expensive than basic microswitches; requires precise alignment; sensitive to dust/debris interfering with the beam.
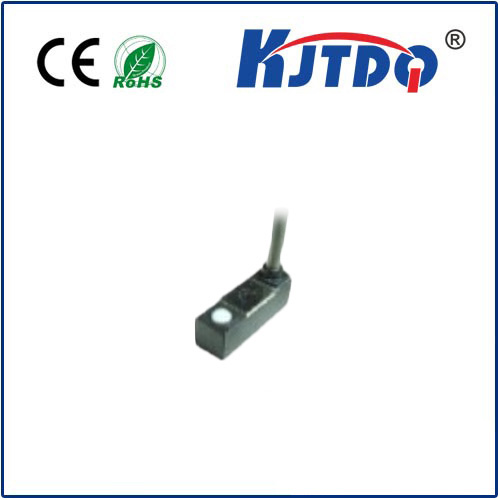
- Magnetic / Hall Effect Switches: Detect the proximity of a magnet attached to the moving axis. Pros: Truly non-contact, no moving parts, high reliability, immune to dust/oil in the sensing area. Cons: Requires magnets precisely mounted; generally higher cost; magnetic fields can potentially interfere with other electronics if placed very close.
Implementing Limit Switches on Your CNC 3018 Pro: Key Considerations
While adding limit switches is highly recommended, it requires careful planning and execution:
- Hardware Mounting: You’ll need to physically mount switches at the negative travel ends of each axis (X-, Y-, Z-). This often involves designing or purchasing simple brackets (available from many CNC parts vendors) that securely hold the switch in the correct position. Ensure switches are mounted firmly to prevent vibration-induced false triggers.
- Wiring: The CNC 3018 Pro controller board usually has dedicated pins labeled for X-, Y-, Z- Limit inputs. You’ll connect the switch outputs (typically the Common © and Normally Open (NO) pins) to the controller’s limit input pin and ground. Consult your specific controller’s manual for the exact pinout. Use shielded cable for longer runs to prevent electrical noise.
- Controller Configuration (GRBL): This is crucial. You must enable the limit switches in GRBL using commands (sent via a G-code sender like Universal Gcode Sender, CNCjs, or bCNC):
$21=1 : Enable hard limits (HALTs motion on trigger).$22=1 : Enable homing cycle (requires limit switches).- You’ll also need to configure homing directions (
$23, $24) and feed rates ($25, $26).
- Always set the
$5 parameter correctly for your specific switch type (active LOW or HIGH). Setting this wrong can make limit switches appear constantly triggered.
- Testing & Calibration: Before running any job:
- Manually trigger each switch to ensure the controller detects it and halts the corresponding axis.
- Perform the homing cycle (
$H command) multiple times. It should move to each switch rapidly, back off slowly upon contact, and reliably stop at the exact same position each time.
- Verify soft limits functionality if configured.
Troubleshooting Common Limit Switch Issues
Even after careful installation, issues can arise:
- Machine Doesn’t Home / Ignores Switches: Check wiring connections and polarity. Verify GRBL settings
$21 and $22 are enabled (1). Ensure $5 (limit pin invert) is correctly set for your switch type. Check for loose connectors.
- False Triggering / Machine Halts Unexpectedly: This is often caused by electrical noise. Ensure wiring is away from motor power cables. Use shielded cable grounded at the controller end. Check for intermittent shorts in the wiring. Verify switches aren’t physically vibrating loose or being accidentally bumped. Dampening capacitors across the switch contacts can sometimes help.
- Axis Moves Past Switch (Overtravel): Switch might not be positioned precisely enough. The machine

