proximity sensor with raspberry pi
- time:2025-07-16 08:32:42
- Click:0
Mastering Distance Detection: Build Cool Projects with a Proximity Sensor and Raspberry Pi
Ever waved your hand near an automatic faucet or door and watched it magically activate? That invisible magic is often powered by a proximity sensor. These ingenious components detect the presence or absence of nearby objects without physical contact. Now, imagine harnessing that power with the incredible versatility of the Raspberry Pi. This potent combination opens a world of possibilities for makers, hobbyists, and innovators, allowing you to create interactive systems that respond intelligently to their environment. Whether you’re building a smart pet feeder that knows when Fido approaches, crafting an exhibit display that activates as visitors draw near, or designing a collision-avoidance system for a robot, integrating a proximity sensor with your Raspberry Pi project is a fundamental and rewarding skill.
Understanding Proximity Sensors: Seeing Without Touching
At their core, proximity sensors work by emitting some form of energy field (light, sound, electromagnetic) and detecting changes in that field caused by a nearby object. For Raspberry Pi projects, several types are popular due to their simplicity and cost-effectiveness:
- Infrared (IR) Reflection Sensors (like the common KY-032 or TCRT5000): These contain an IR LED that emits infrared light and a phototransistor that detects reflected light. When an object is close, IR light bounces back, and the phototransistor conducts more current, changing its output signal. They’re great for short-range detection (a few centimeters) and distinguishing between light and dark surfaces.
- Ultrasonic Sensors (like the HC-SR04): These work like sonar. They emit high-frequency sound pulses and measure the time it takes for an echo to return. Distance is calculated based on the speed of sound. They offer much longer range (several meters) and aren’t affected by object color, but can be tricked by soft, sound-absorbing materials or complex angles.
- Capacitive Sensors: These detect changes in an electrical field caused by conductive objects (including humans) getting close. They work through thin non-conductive barriers (like glass or plastic). While less common in starter kits, they are excellent for touchless interfaces.
- Inductive Sensors: Designed specifically to detect metal objects. They generate an electromagnetic field; when metal enters this field, it induces eddy currents, altering the sensor’s characteristics. Primarily used in industrial automation but applicable for metal detection projects with a Pi.
For most hobbyist projects, IR reflection and ultrasonic sensors are the go-to choices due to their simplicity and wide availability.
Why Raspberry Pi is the Perfect Partner for Proximity Sensing
The Raspberry Pi isn’t just a tiny computer; it’s a complete development platform with extensive GPIO (General Purpose Input/Output) pins. This is the key to interfacing sensors like proximity detectors:
- Reading Sensor Output: Proximity sensors typically provide a digital (HIGH/LOW) or analog signal indicating detection. The Pi’s GPIO pins can directly read digital signals. For analog sensors (like some IR variants providing a variable voltage), you’ll need an ADC (Analog-to-Digital Converter) chip like the MCP3008.
- Processing Power: Unlike simpler microcontrollers, the Pi can run complex software. You can log detection data over time, trigger sophisticated actions (sending emails, playing sounds, updating databases), run machine learning algorithms on proximity patterns, or integrate with web services.
- Connectivity: Built-in Wi-Fi and Bluetooth enable your proximity-sensing project to communicate wirelessly – sending alerts to your phone, data to the cloud, or receiving remote commands.
- Flexibility & Ecosystem: A vast library of software (especially Python libraries like
gpiozero, RPi.GPIO) and hardware (HATs, breadboards, easy wiring) makes development accessible. The Pi community offers immense support.
Gearing Up: Essential Components
Before diving in, gather these essentials:
- Raspberry Pi: Any model with accessible GPIO pins (Pi 3B+, Pi 4B, Pi Zero WH are common choices).
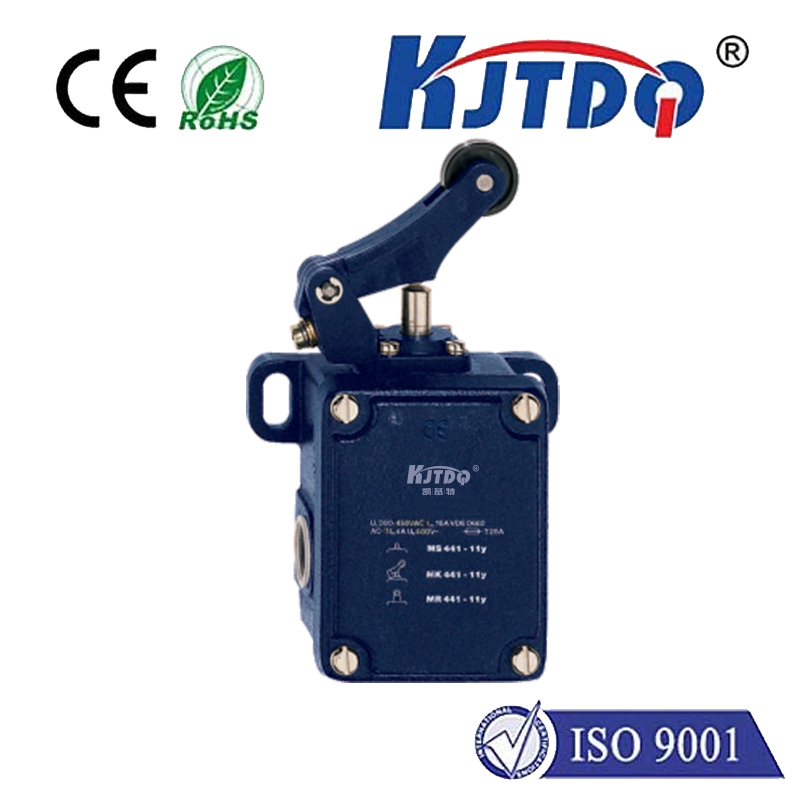
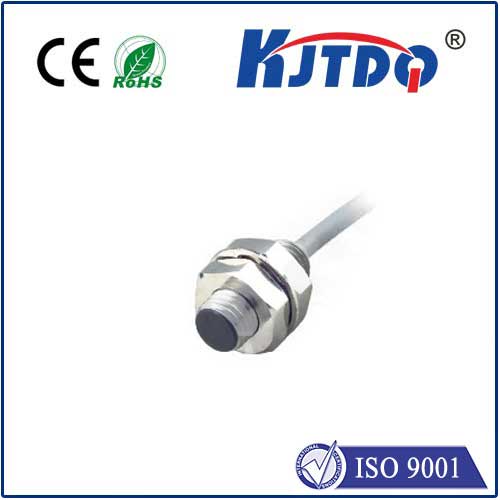
- Proximity Sensor: Choose based on your range and object requirements (e.g., TCRT5000 IR sensor for short range, HC-SR04 ultrasonic for longer range).
- Breadboard & Jumper Wires: For easy, solderless prototyping and connecting components.
- Resistors: Often needed, especially pull-up/down resistors for digital input stability or current-limiting resistors for LEDs within sensors. Check your sensor’s datasheet!
- Power: Ensure stable power for both the Pi and the sensor (if not powered via the Pi’s 3.3V/5V pins). A good quality USB power supply is crucial.
- (Optional) ADC: Needed if using an analog output sensor.
Wiring it Together: Connecting Sensor to Pi GPIO
Always disconnect your Pi from power before wiring! Double-check connections using the sensor’s datasheet and the Pi’s GPIO pinout diagram (e.g., pinout.xyz).
- Power: Connect the sensor’s VCC (or V+) pin to the Pi’s 3.3V or 5V pin (confirm voltage requirement with the datasheet!). Connect the sensor’s GND (Ground) to the Pi’s GND pin.
- Signal Output: Connect the sensor’s output pin (OUT, SIG, or similar) to one of the Pi’s designated GPIO input pins (e.g., GPIO 17). Crucially: For digital sensors, you often need a pull-down resistor (e.g., 10K Ohm) between the signal wire and GND to prevent the input from “floating” and giving erratic readings when no object is detected. Some libraries like
gpiozero can enable an internal pull-down resistor in software, simplifying wiring but an external resistor is sometimes more reliable. Here’s how a simple IR sensor connection might look:
- Sensor VCC -> Pi 5V
- Sensor GND -> Pi GND
- Sensor OUT -> Pi GPIO 17 (plus external 10K resistor between GPIO 17 and GND)
- (Internal pull-down via software is also possible:
button = Button(17, pull_down=True) in gpiozero)
- Ultrasonic Specifics (HC-SR04): Requires two GPIO pins: one Trigger (Pi Output) to initiate a pulse, and one Echo (Pi Input) to receive the return pulse timing. Plus VCC (5V) and GND.
Coding the Detection: Python Power
Python, with its rich libraries, makes reading the sensor incredibly straightforward. Here’s how to do it with a digital