check

check

check

check
check

check
check
check
check
check
Imagine a world where your coffee machine starts brewing as you approach, your garage door senses your car arriving, or your phone screen automatically dims during a call. This isn’t science fiction; it’s the everyday magic enabled by proximity sensors and the code that brings them to life. Understanding “kode sensor proximity” – the programming logic that interfaces with and interprets data from these ubiquitous devices – is fundamental for engineers, hobbyists, and innovators building interactive systems. This article delves into the core concepts, implementation strategies, and best practices for effectively coding proximity sensors.
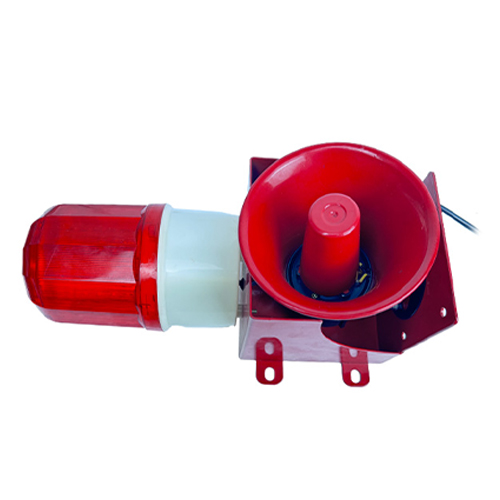
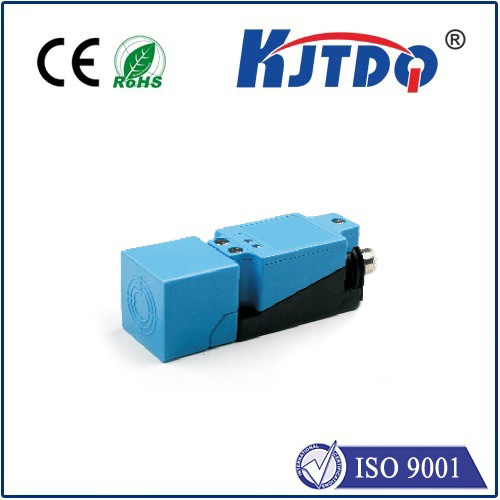
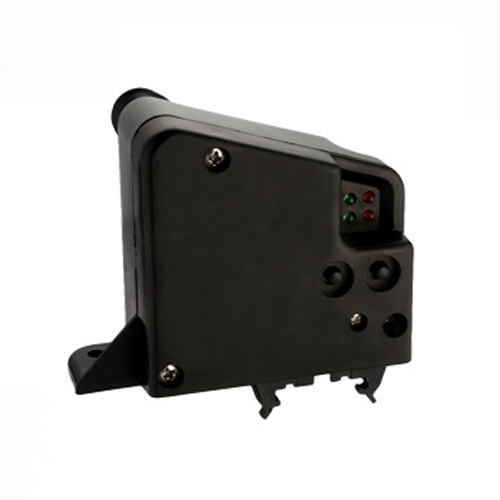
Proximity Sensors: The Silent Sentinels
At their essence, proximity sensors detect the presence, absence, or distance of nearby objects without physical contact. They achieve this through various principles:
Why “Kode Sensor Proximity” Matters: Bridging the Physical and Digital

The sensor hardware provides raw electrical signals – perhaps a changing voltage, a pulse width, or a simple digital “on/off” state. This is where your code becomes the critical interpreter. Its core tasks include:
if statements or complex state machines.Crafting Robust Proximity Sensor Code: Key Considerations
Moving beyond theory, here’s how to write effective “kode sensor proximity”:
analogRead() in Arduino). You’ll need to map the analog value (e.g., 0-1023) to a meaningful unit (e.g., distance in cm) using formulas or lookup tables derived from calibration. Applying digital filtering here is almost always essential.HIGH or LOW signal when an object is within/outside range. Your code primarily responds to state changes (digitalRead() combined with edge detection). Implement debouncing if the sensor output might chatter near the threshold.millis() or micros() for non-blocking timing instead of delay() where possible. For sensors requiring precise timing (like ultrasonic pulse measurement), hardware timers or interrupts are often used.// Example (Pseudocode - Debounced Edge Detection)
bool currentState = digitalRead(SENSOR_PIN);
bool lastState = currentState;
unsigned long lastDebounceTime = 0;
#define DEBOUNCE_DELAY 50 // ms
void loop() {
bool reading = digitalRead(SENSOR_PIN);
if (reading != lastState) {
lastDebounceTime = millis(); // Reset timer on change
}
if ((millis() - lastDebounceTime) > DEBOUNCE_DELAY) {
// State has been stable for DEBOUNCE_DELAY
if (reading != currentState) {
currentState = reading;
if (currentState == HIGH) { // Handle rising edge (Object detected)
// Your action here
} else { // Handle falling edge (Object moved away)
// Your action here
}
}
}
lastState = reading;
}
// Example (Pseudocode - Analog Sensor with Hysteresis)
#define THRESHOLD_LOW 300
#define THRESHOLD_HIGH 400
bool objectDetected = false;
void loop() {
int sensorValue = analogRead(SENSOR_PIN);
if (!objectDetected && sensorValue > THRESHOLD_HIGH) {
objectDetected = true;
// Object detected action
} else if (objectDetected && sensorValue < THRESHOLD_LOW) {
objectDetected = false;
// Object lost action
}
}
Real-World Applications Driven by Code
The synergy between proximity sensing hardware and well-crafted software powers countless applications. Your code controls the behavior:
Mastering the Interface
“Kode sensor proximity” is more than just reading a pin; it’s about creating intelligent, responsive, and reliable interactions between the physical and digital worlds. Success hinges on understanding your sensor’s nuances, implementing robust filtering and logic, handling edge cases gracefully, and constantly testing and refining your code within its intended environment. By mastering these principles, you unlock the potential to build sophisticated systems that respond intuitively and intelligently to their surroundings.